DIY Treadmill Bike Trainer Desk Workstation_
Here is the story of how and why I set up my own stationary bike / treadmill workstation desk.
A few years back I started by converting my desk to a standing workstation.
This is me with my standing workstation v.1.0

I then upgraded my computer to the latest Macbook Pro Retina 13 inch with a 27″ monitor. (Same desk.)
Then I got my family and staff into it. Below you can see my personal assistant. She is loving her standing workstation. 🙂
Then as my youngest daughter (yes my PA above:) began to sleep through the night, it was time to get back into training…
So I totally overhauled my bike. I replaced all the components, new wheels (including a new powertap powermeter) got a new Garmin Fenix 2 GPS multisport watch. All good and exciting until my new shiny tires met the wet and slippery concrete 5 minutes from the bike shop…..

Ouch!… Of course the important thing I know you are all wondering… Don’t worry there was no damage to the bike… Just grazed my hands and legs.
Still it was not a pleasant experience, so I decided it was time to start training indoors. I had seen treadmill workstations like this one at Amazon… TrekDesk Treadmill Desk![]()

![]()
I had also come across cycling desks like this… FitDesk FDX 2.0 Desk Exercise Bike with Massage Bar, White![]()

![]()
I had heard that many very successful triathletes do most of their cycling on a trainer (mostly Computrainer) so I thought I would give it a go making a combined treadmill / stationary bike workstation.
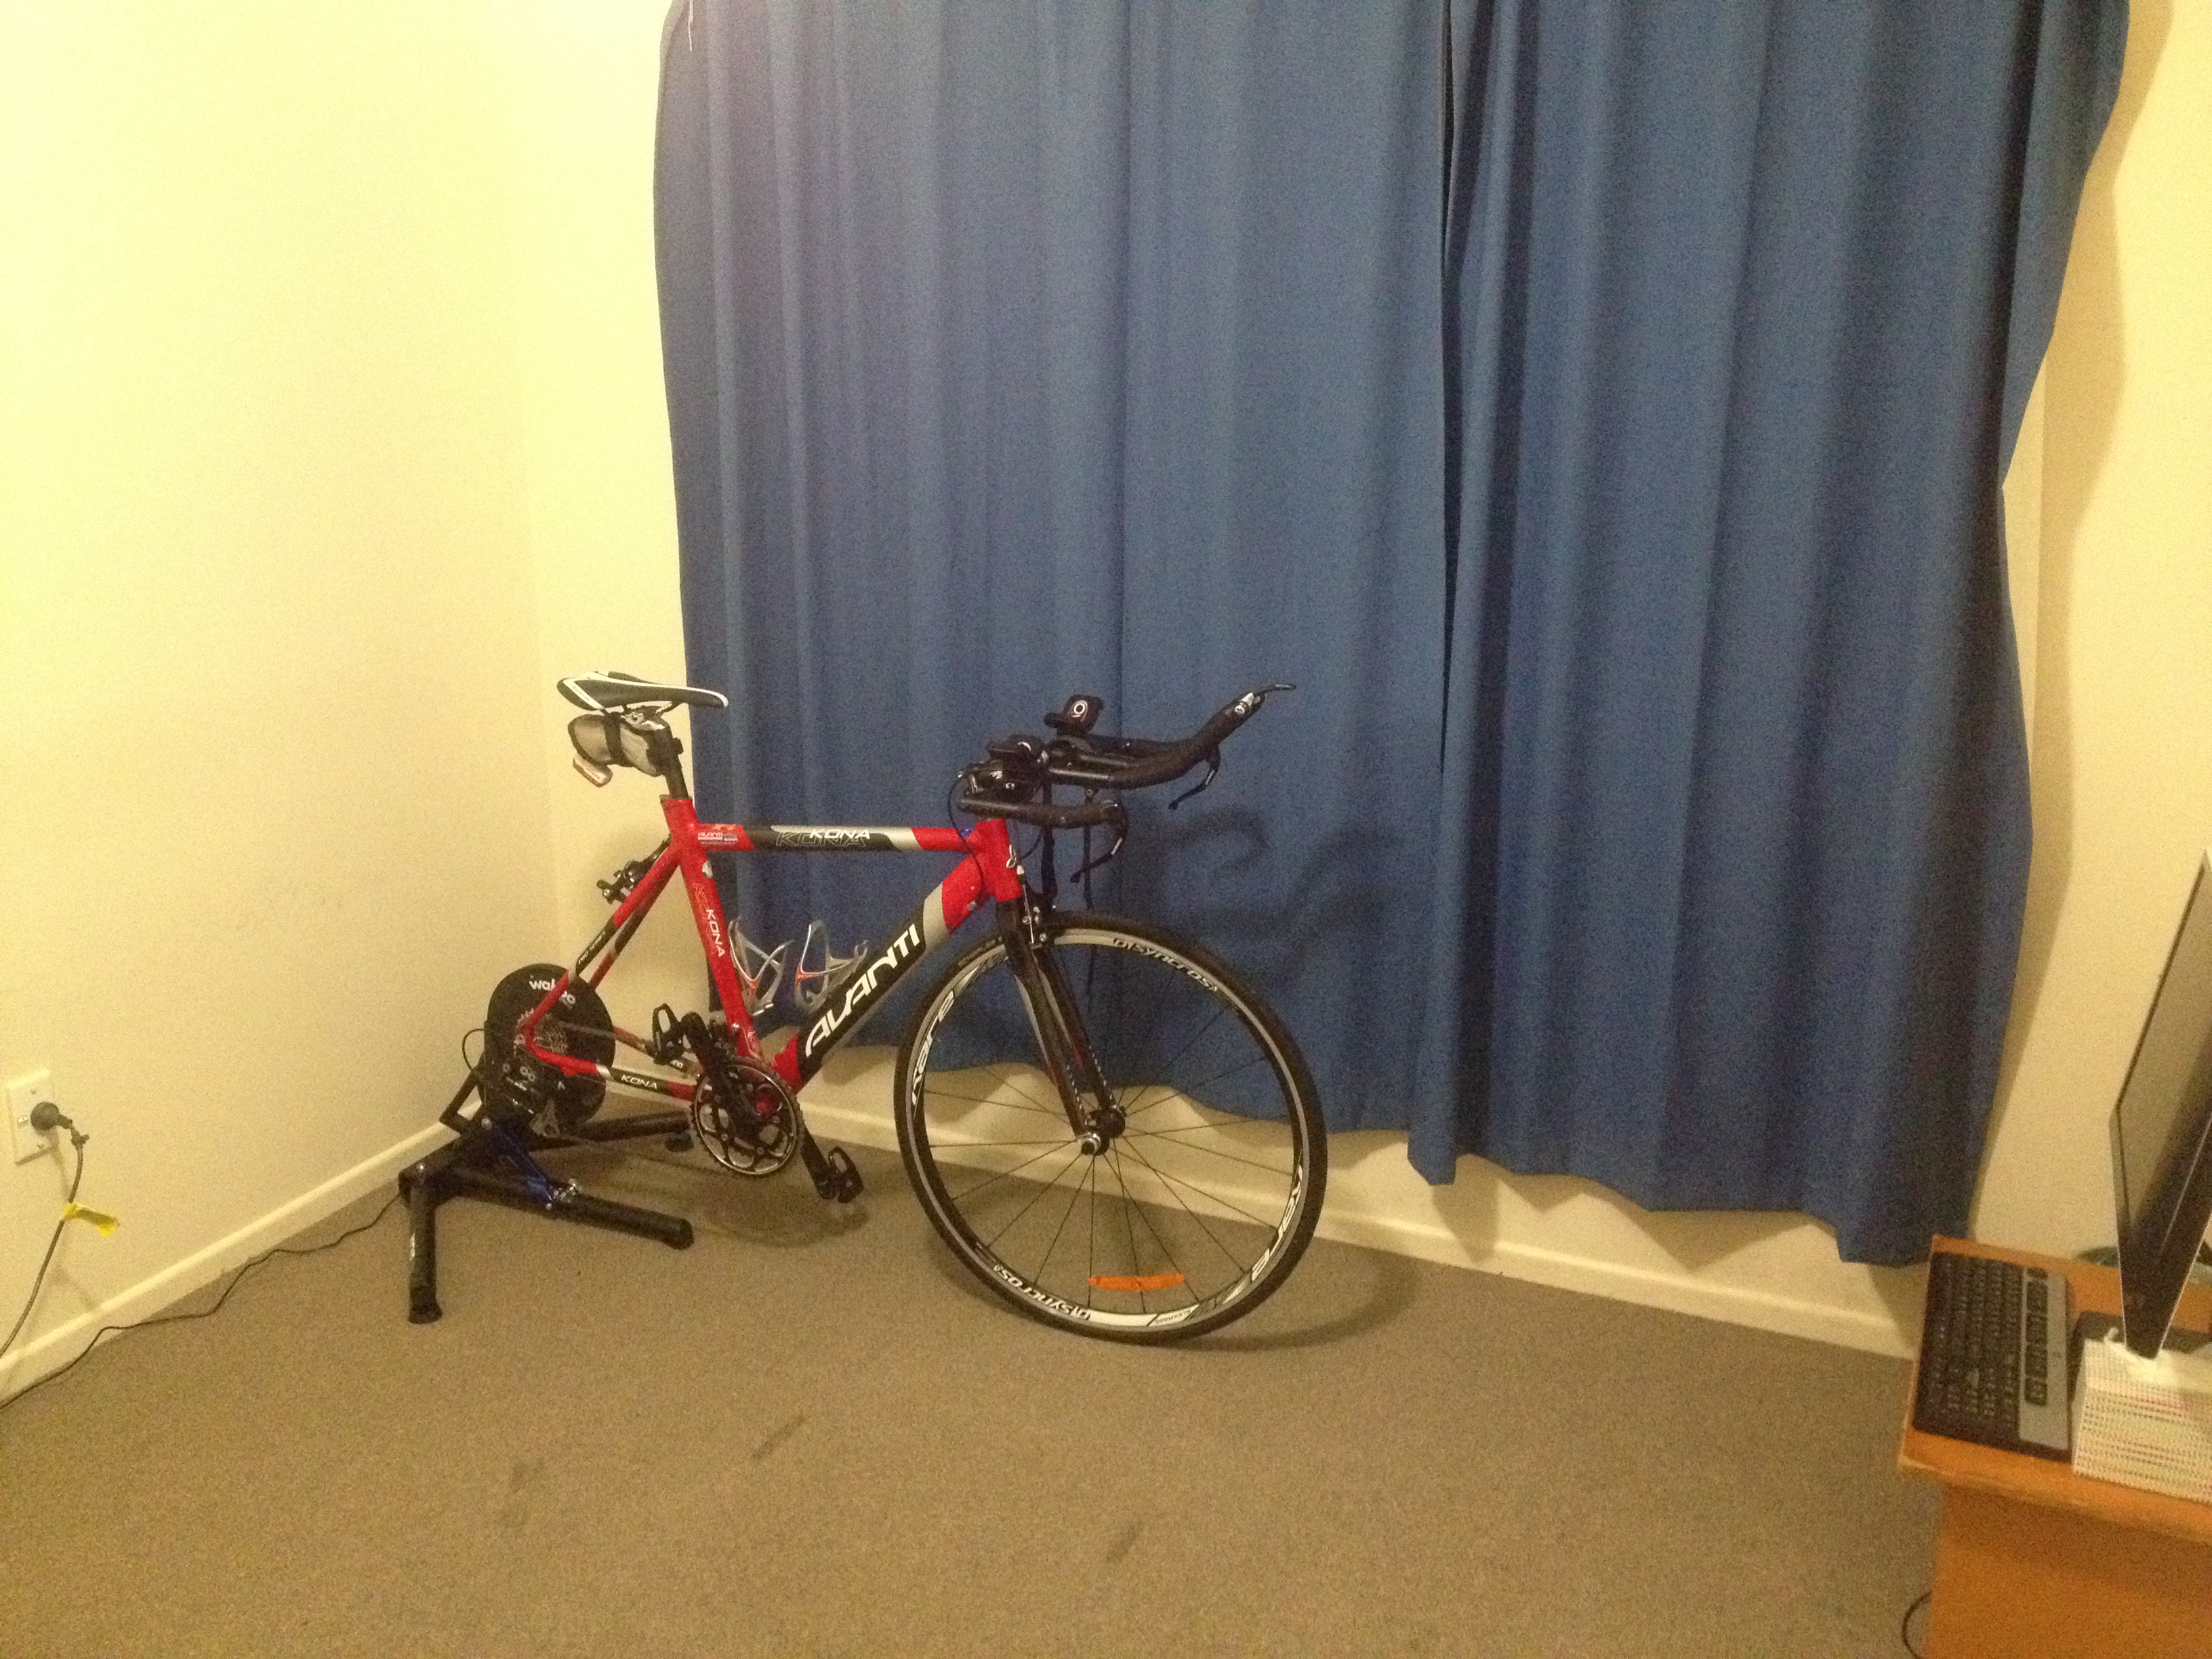
I already had an old magnetic bike trainer, but I didn’t like the way it kept slipping and wearing out my rear tire.
So after some research, I decided to go with the Wahoo Kickr.

It is a similar price to the Computrainer (not cheap) but the Wahoo Kickr is more up-to-date in technology, compatible with bluetooth and ant+ (including my iphone, Mac and the Garmin for recording sessions). Basically, it is the most advanced stationary bike trainer on the market. It also has its own cassette which attaches directly to the chain, so it doesn’t slip or wear out the back wheel like my old trainer.
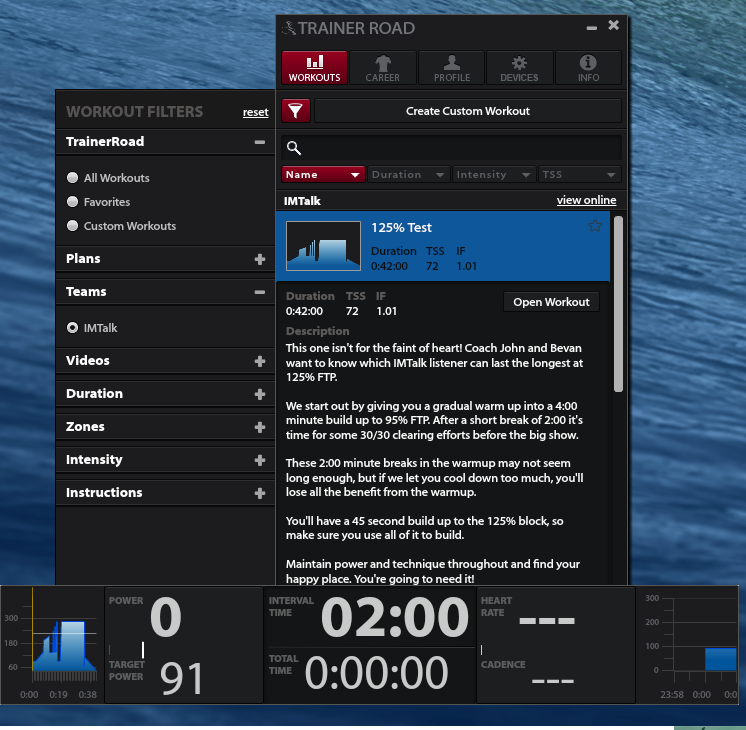
It works really great with a program called Trainer Road, which makes it easy to program specific training sessions.
I got my PA to test it out and she loved it too!

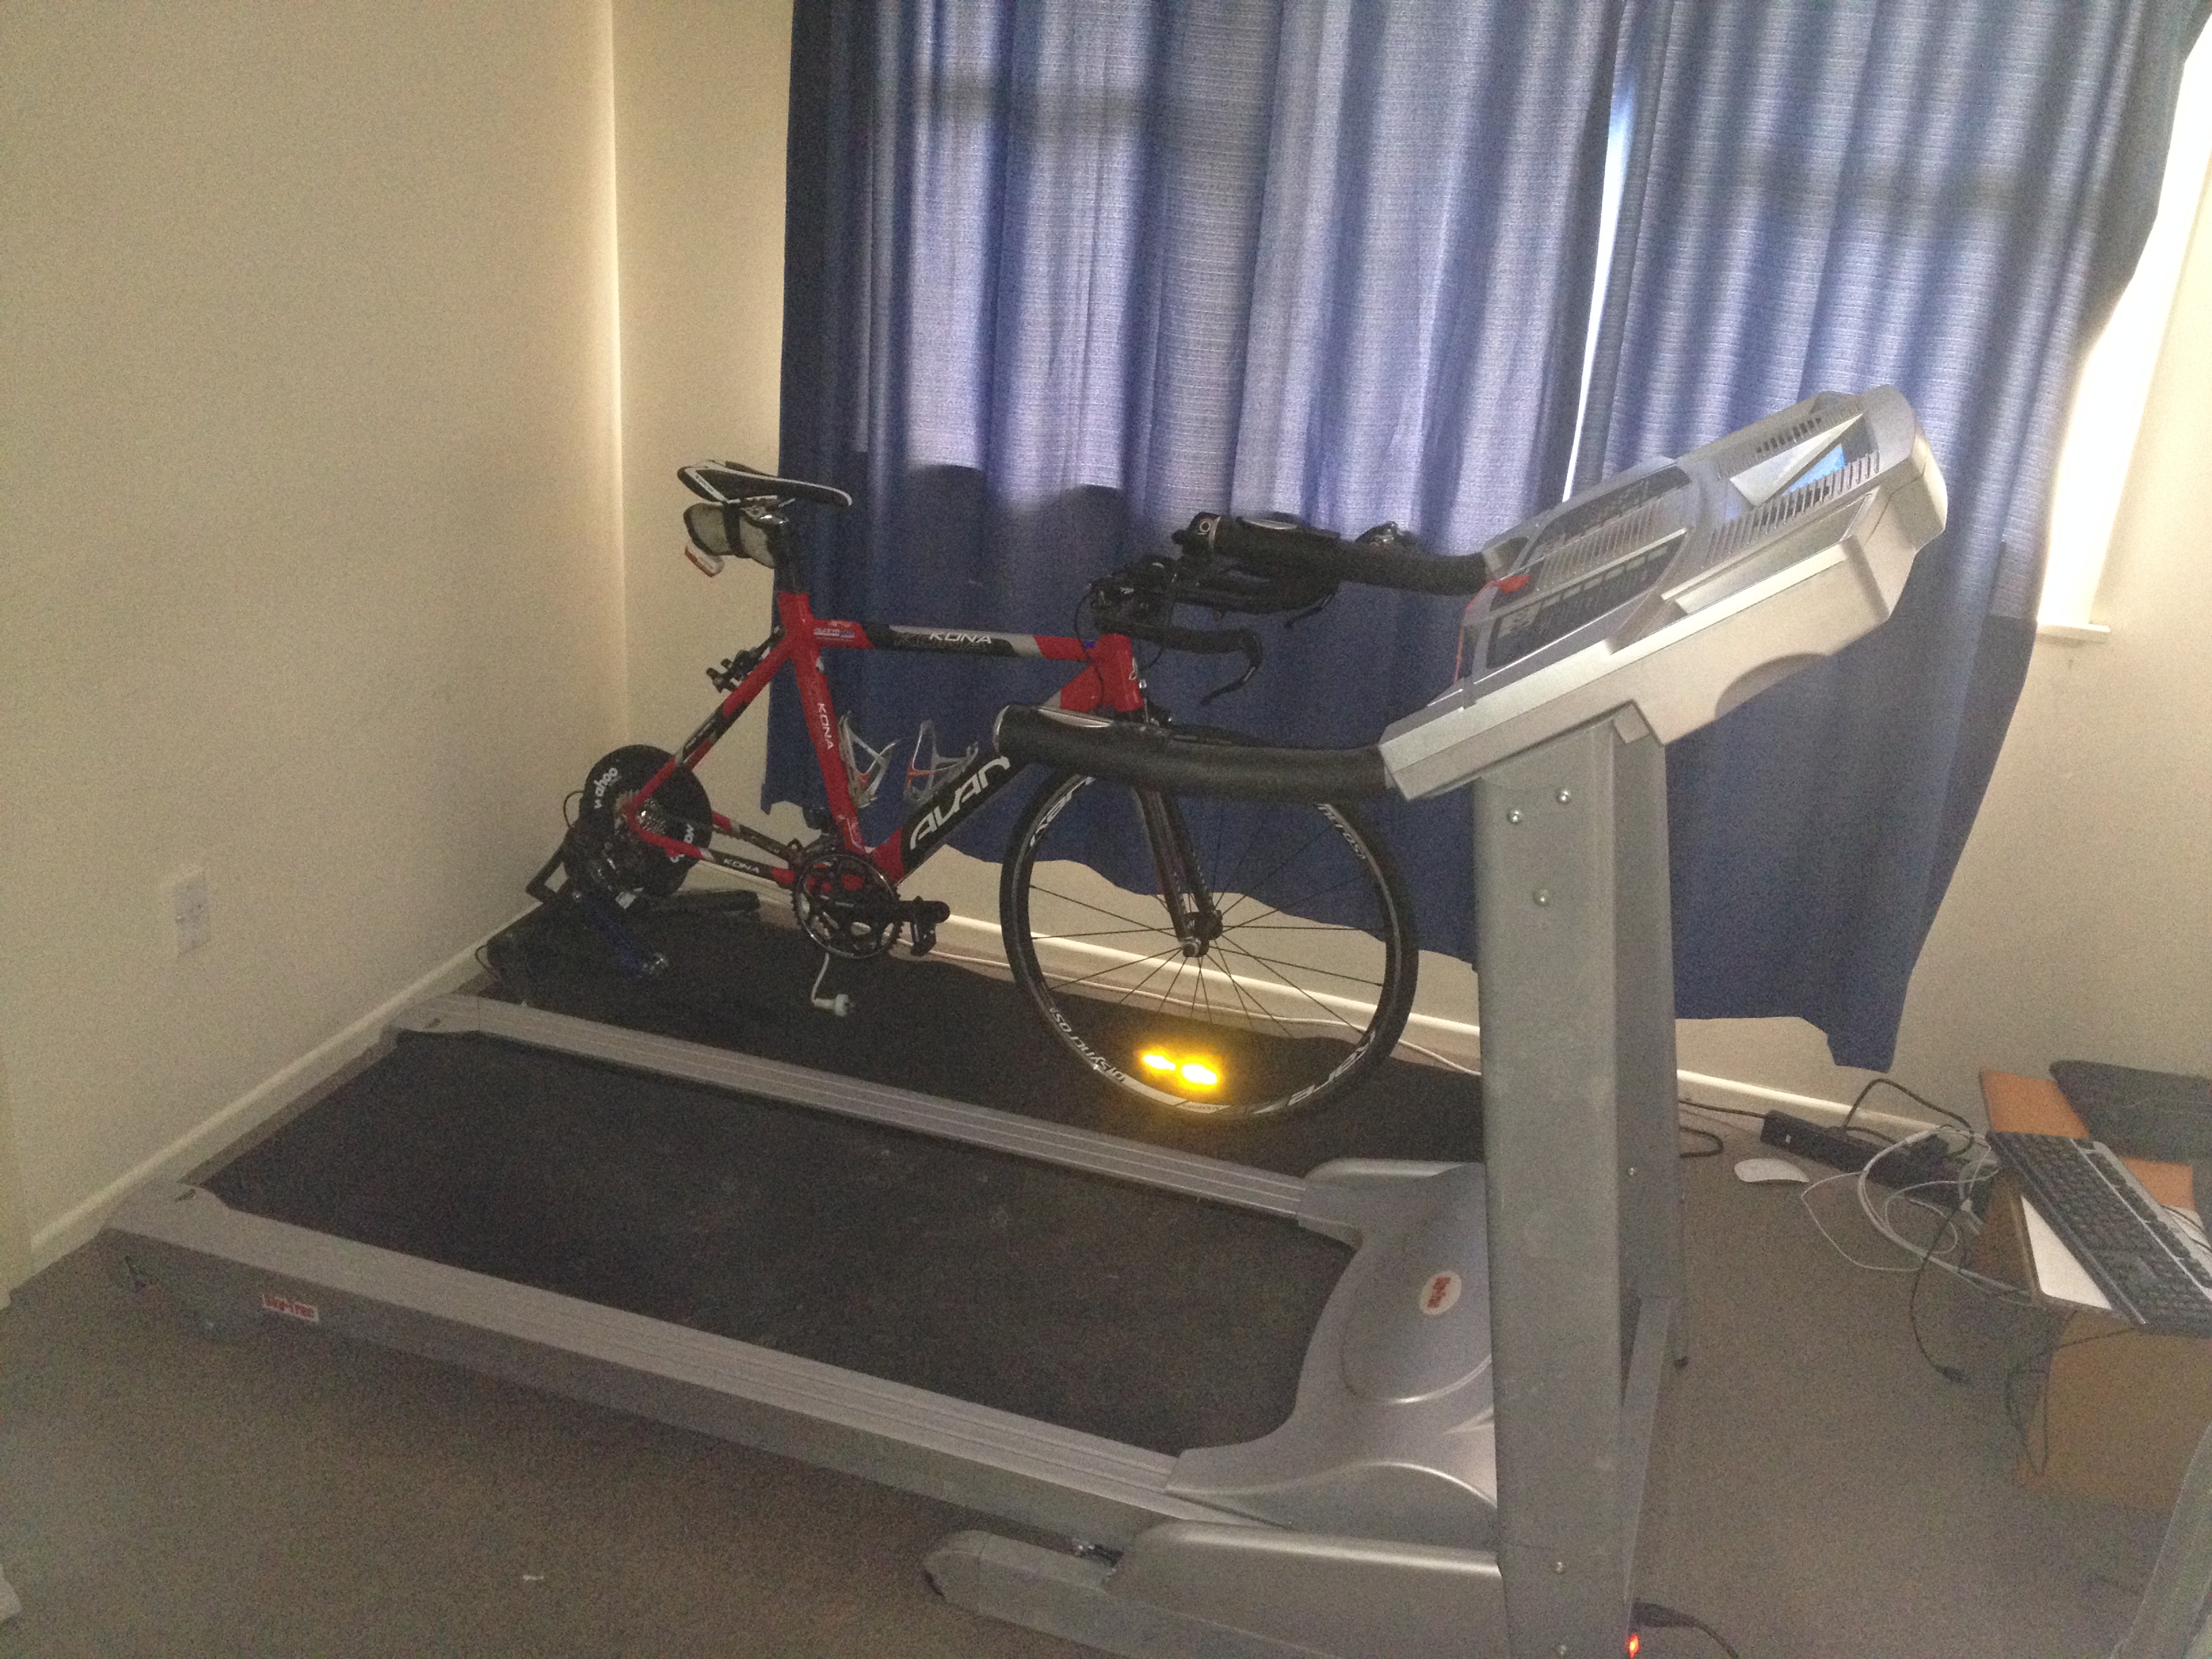
So I took the plunge and took out my antique desk… and brought in my bike and the Wahoo Kickr.
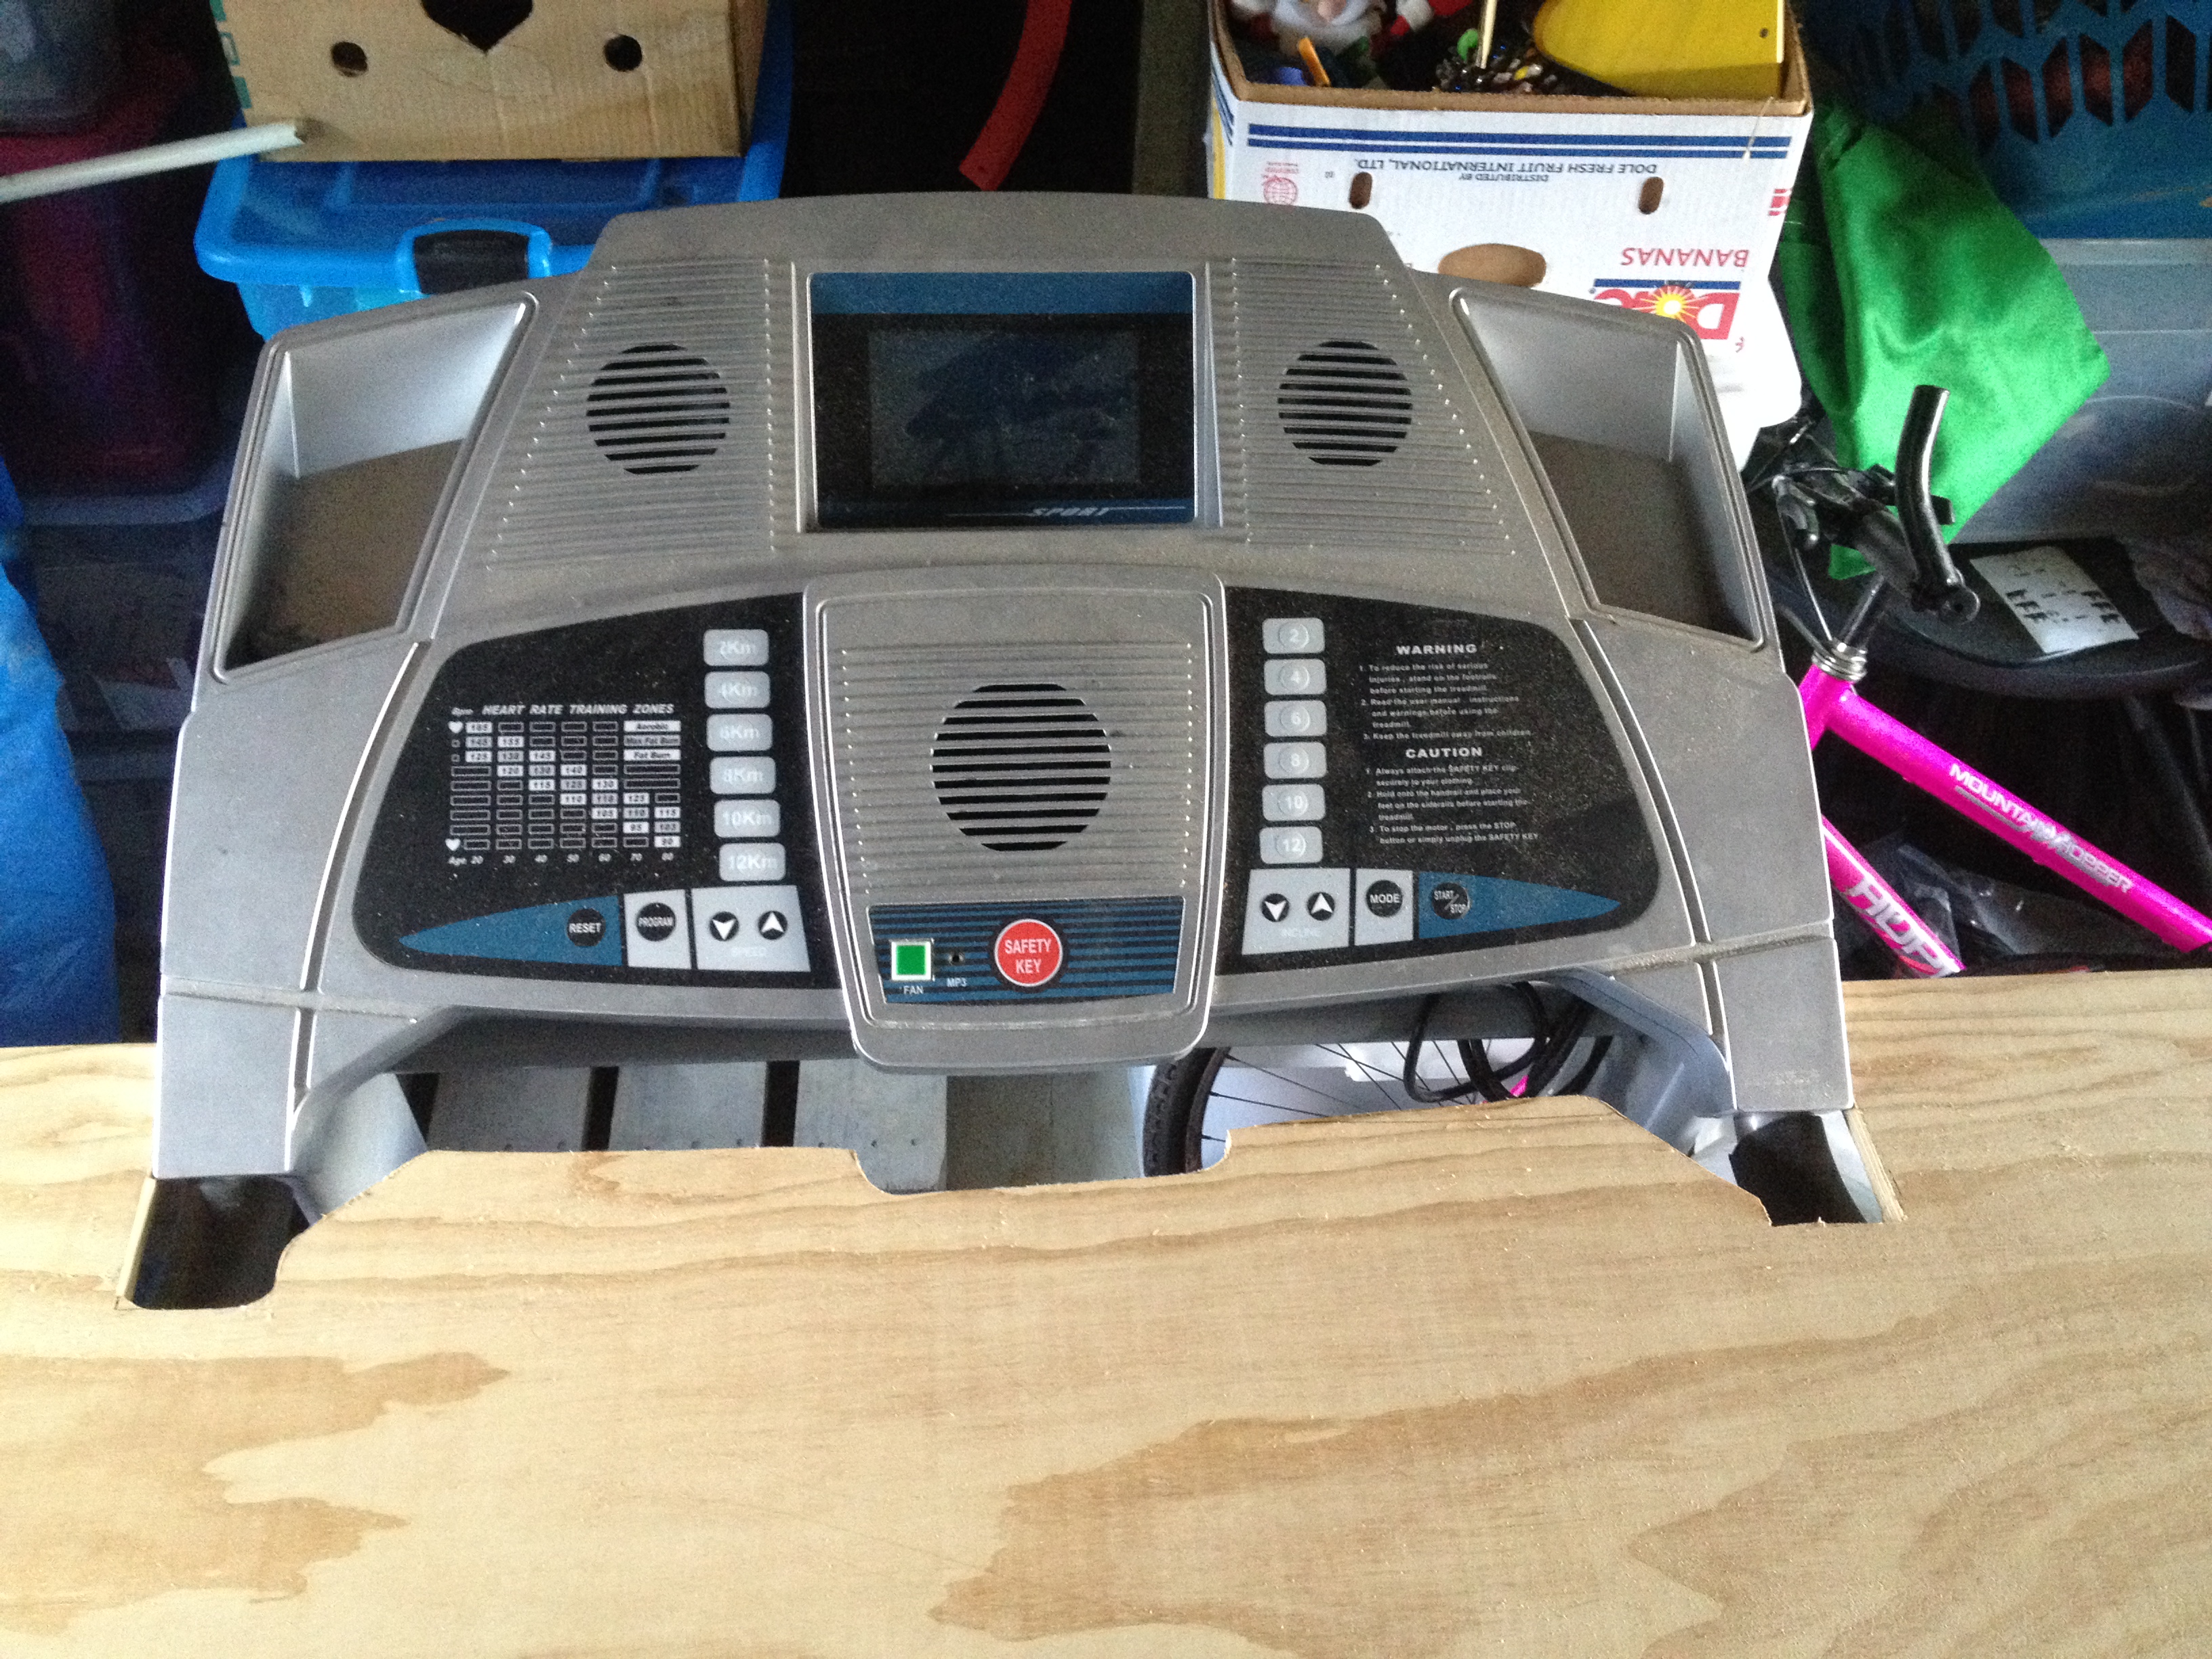
Then I dusted off the beast that had been hibernating in the dungeon for the last three and a half years…
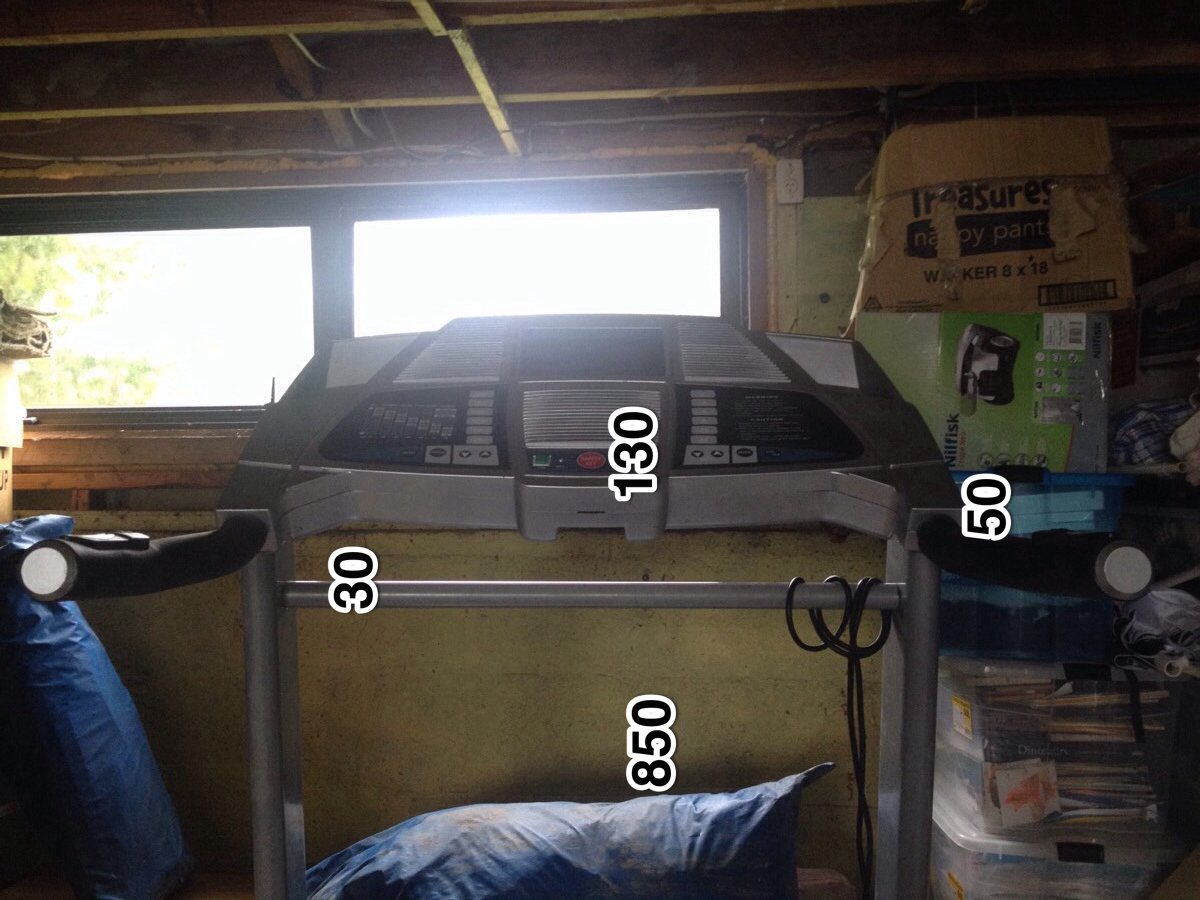
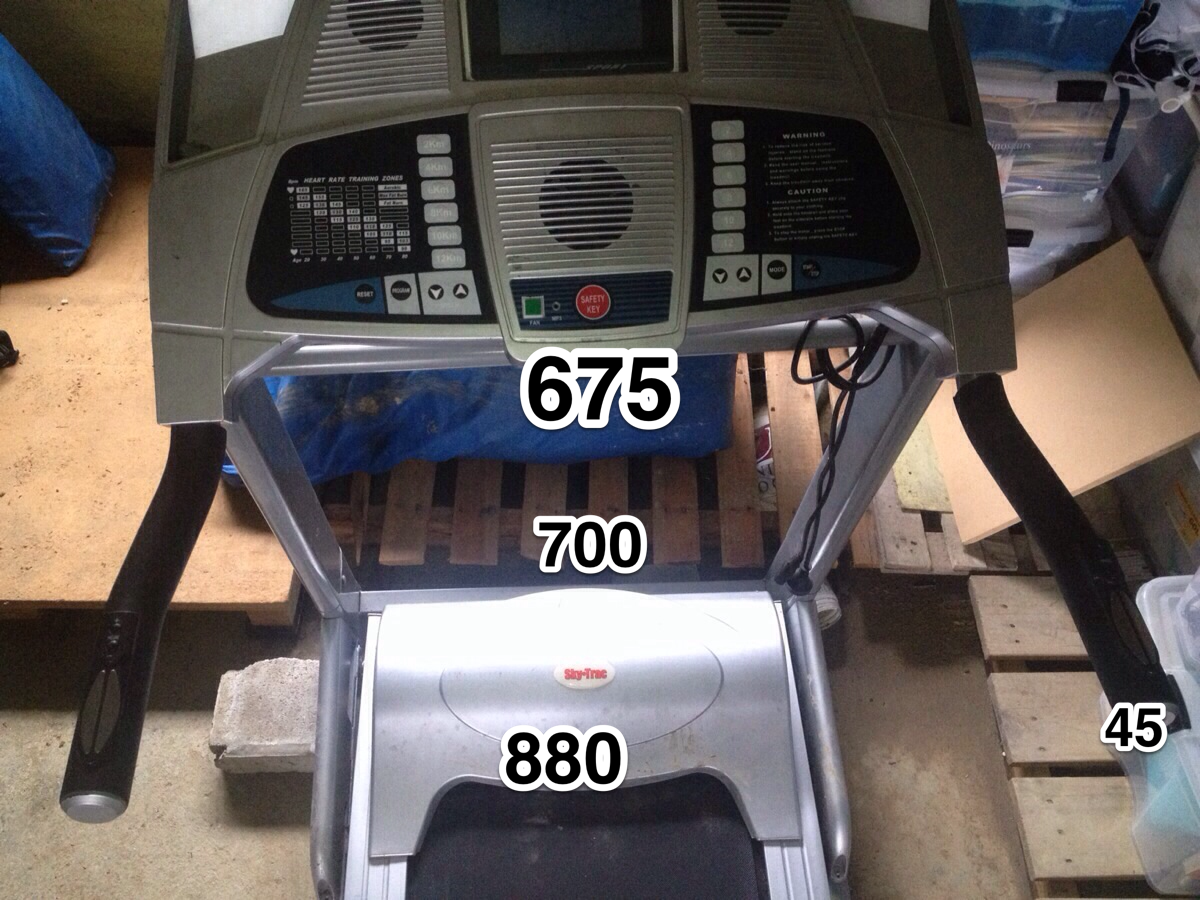
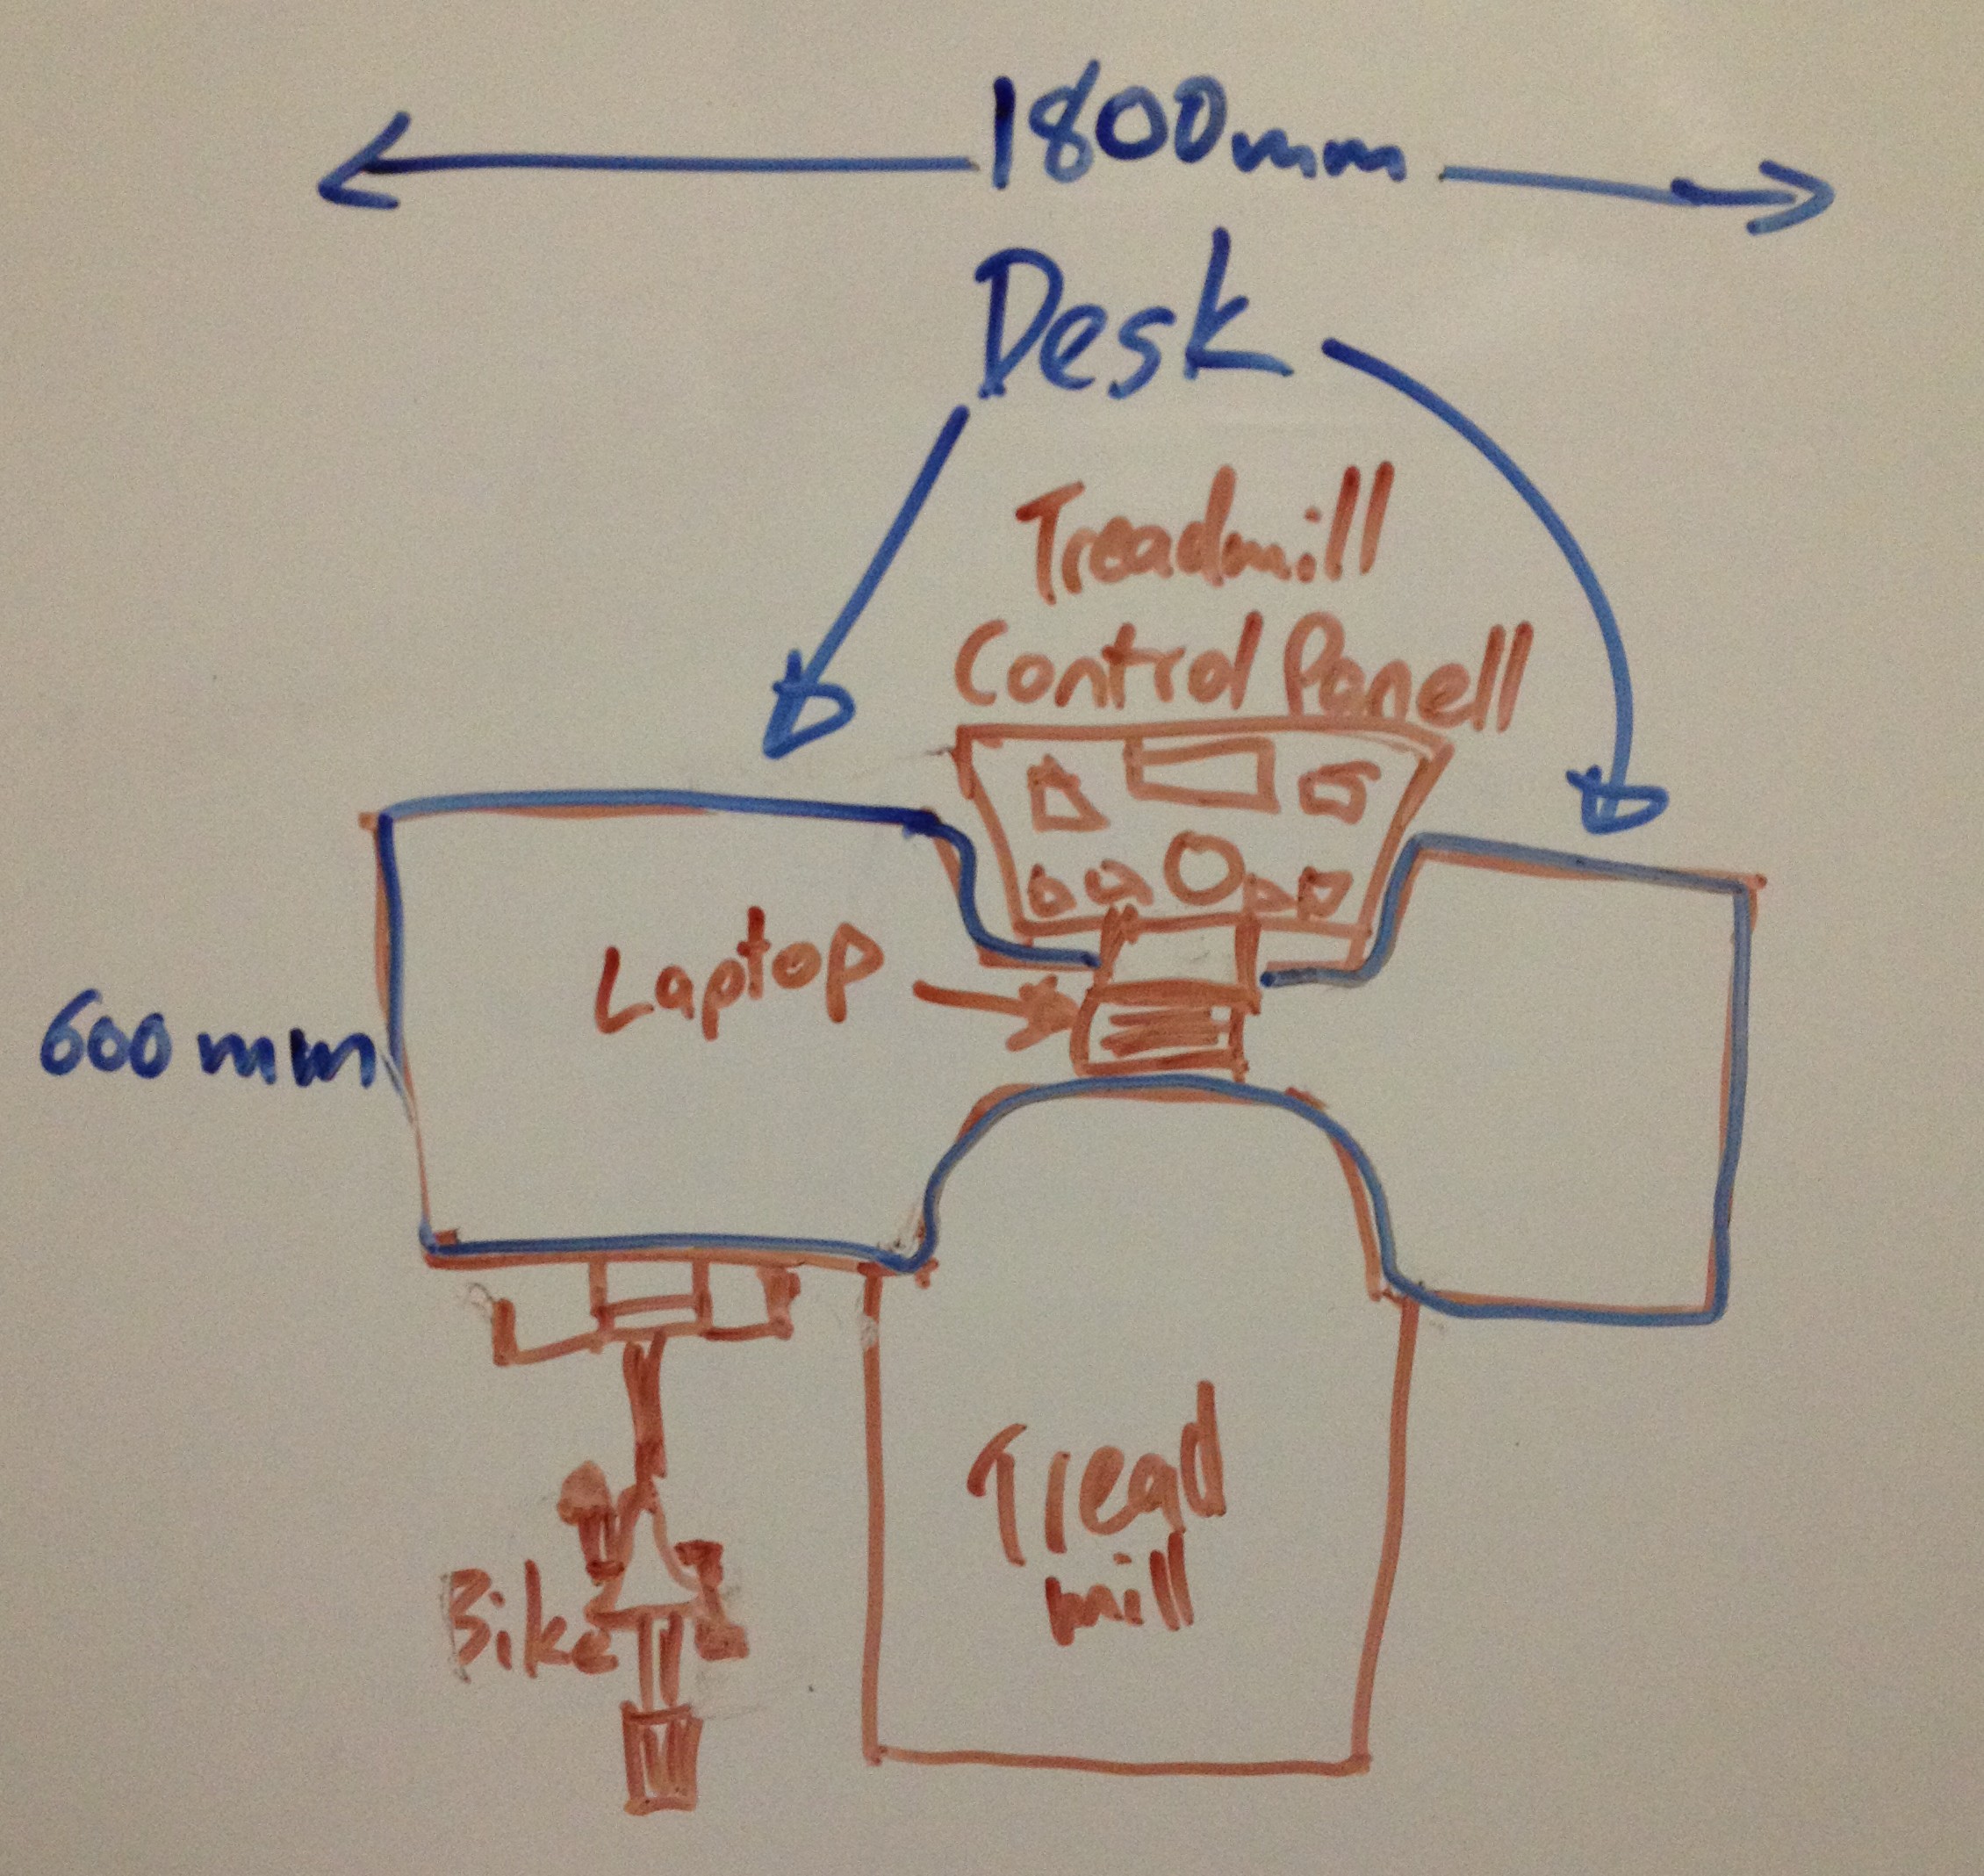
I took some measurements…
Made some plans…
Our senior engineer gave his approval… (Pita is what my son calls me… It’s Gujarati for Dad.)

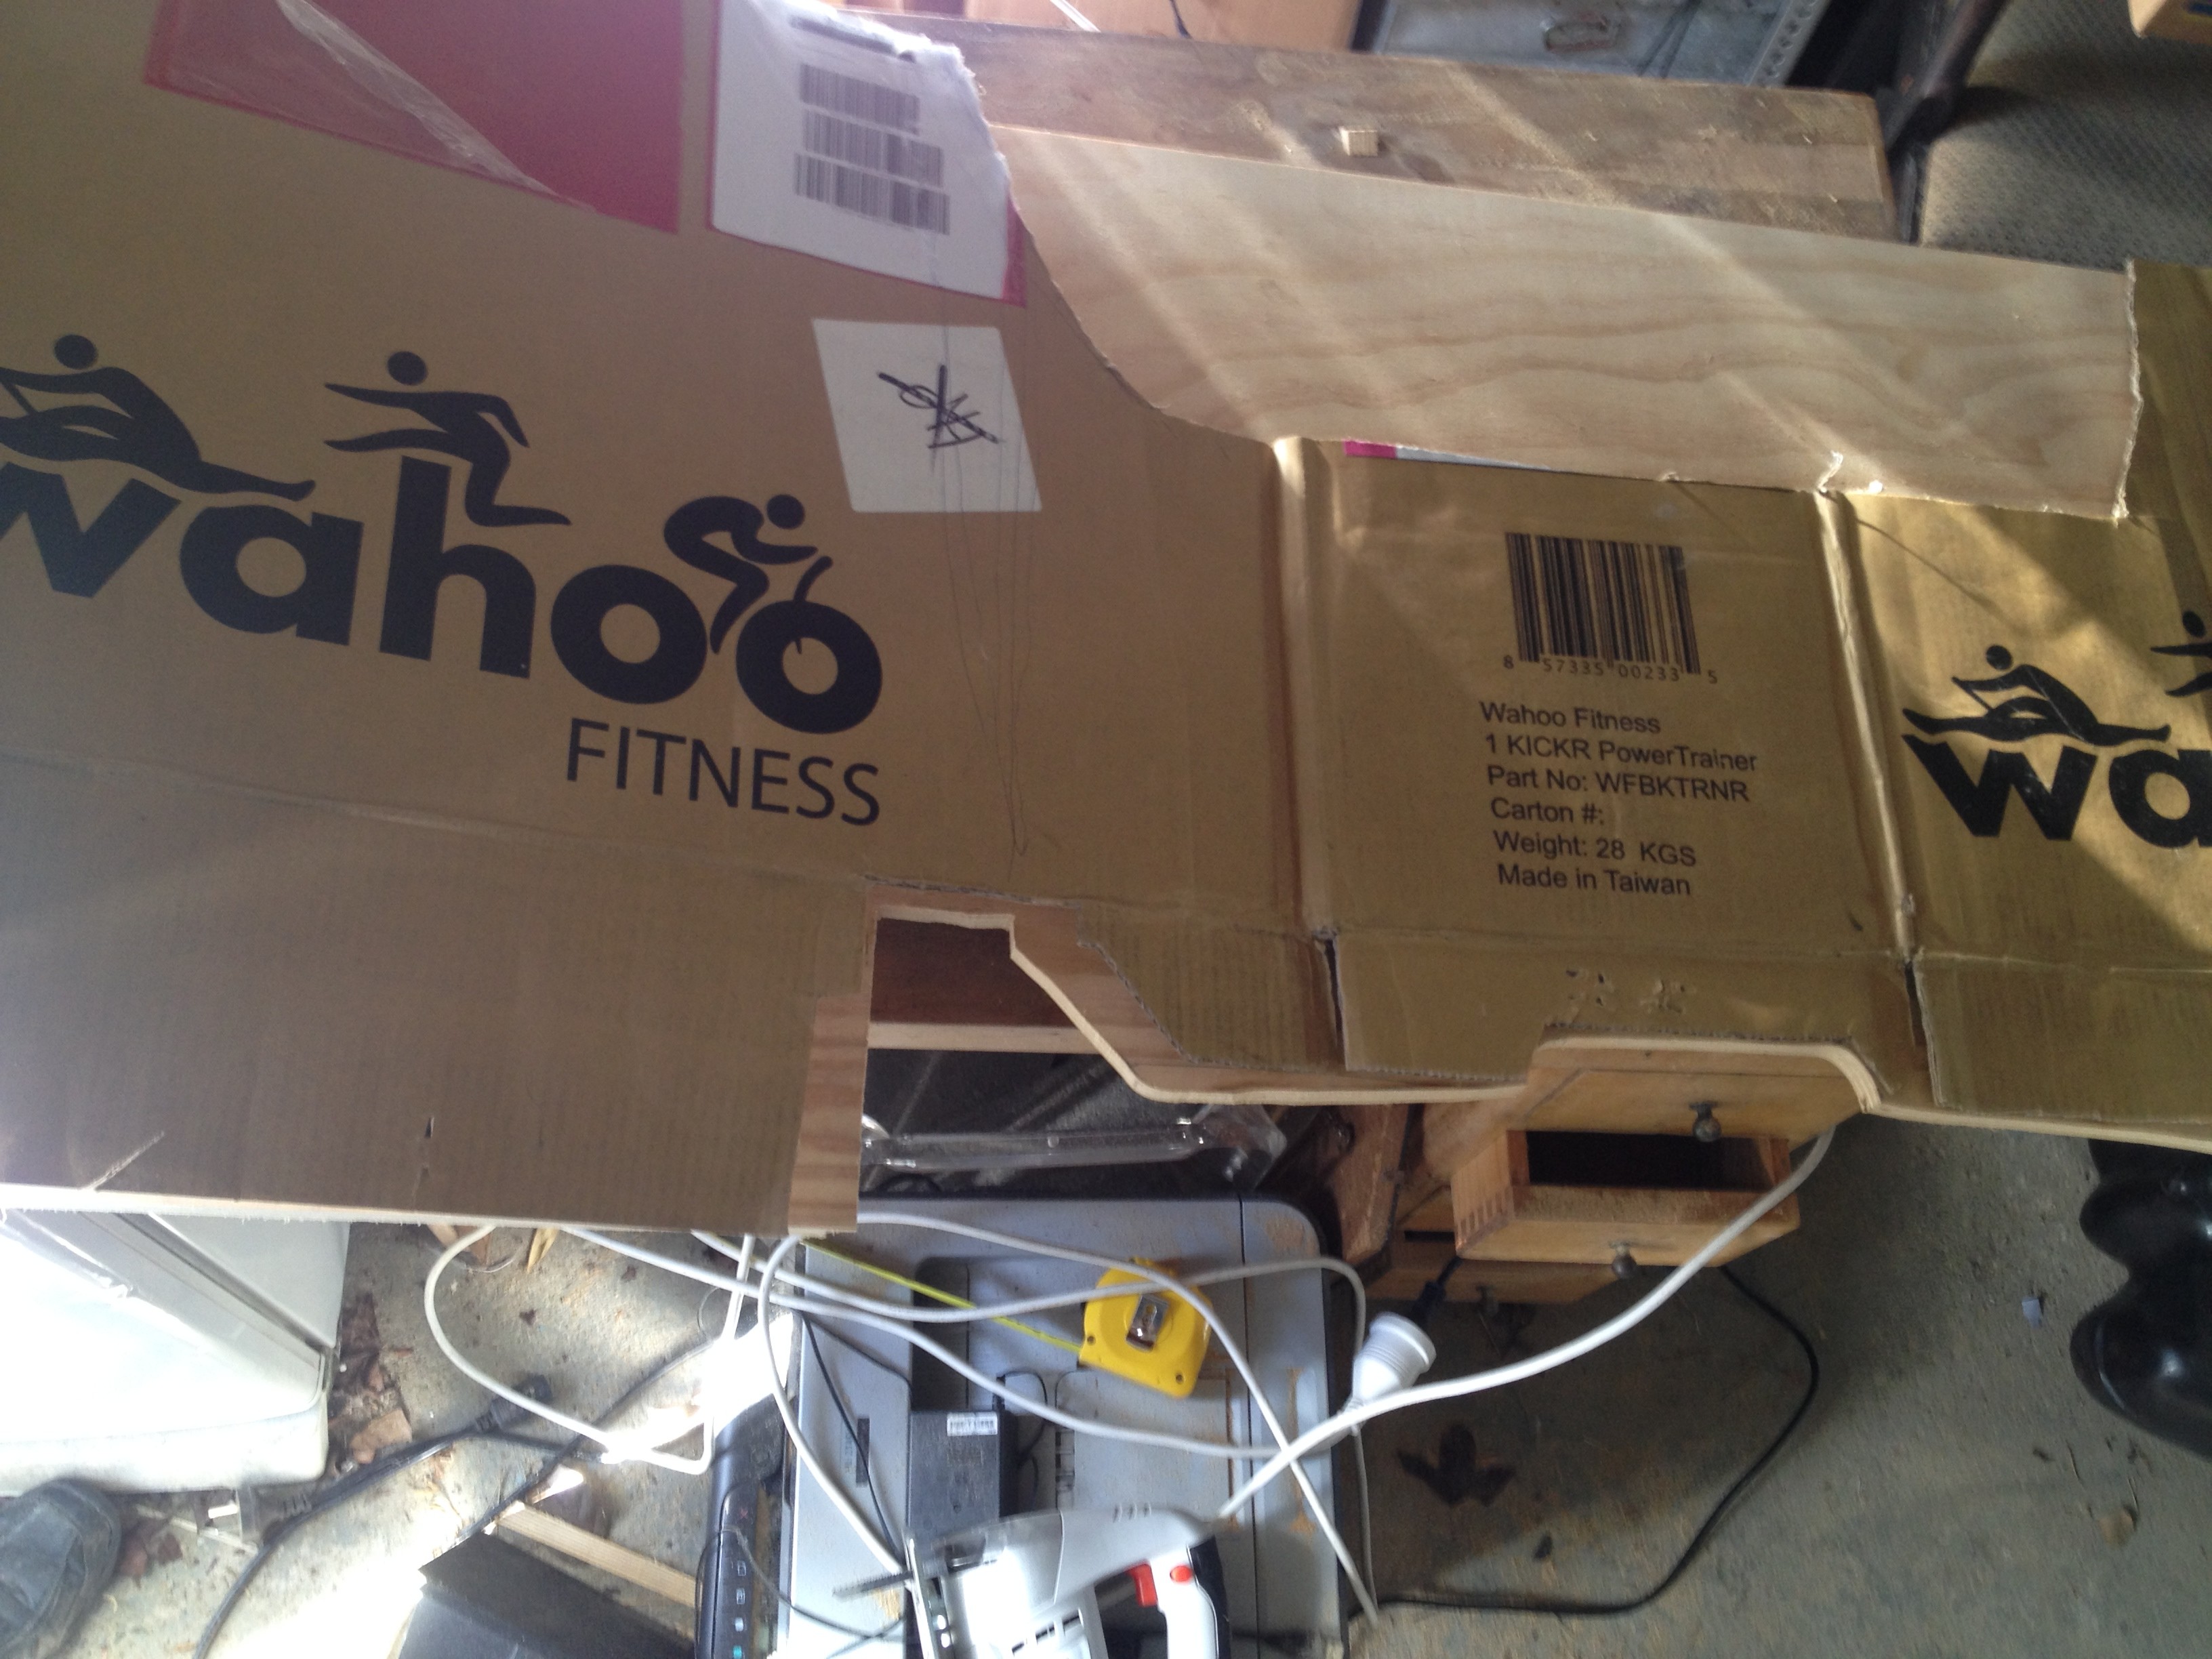
So now it is time to get to work creating the template… (the old box from the Wahoo Kickr came in handy here.)

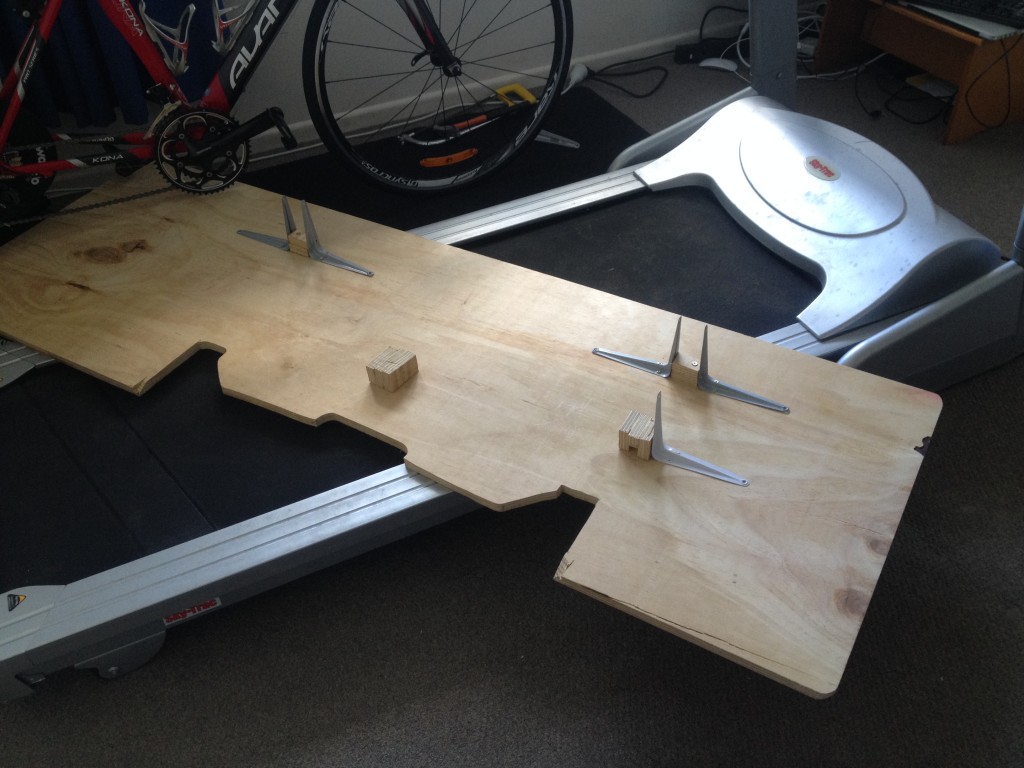
Time to put my jigsaw skills to work… (1800mm x 600mm x 17mm ply)
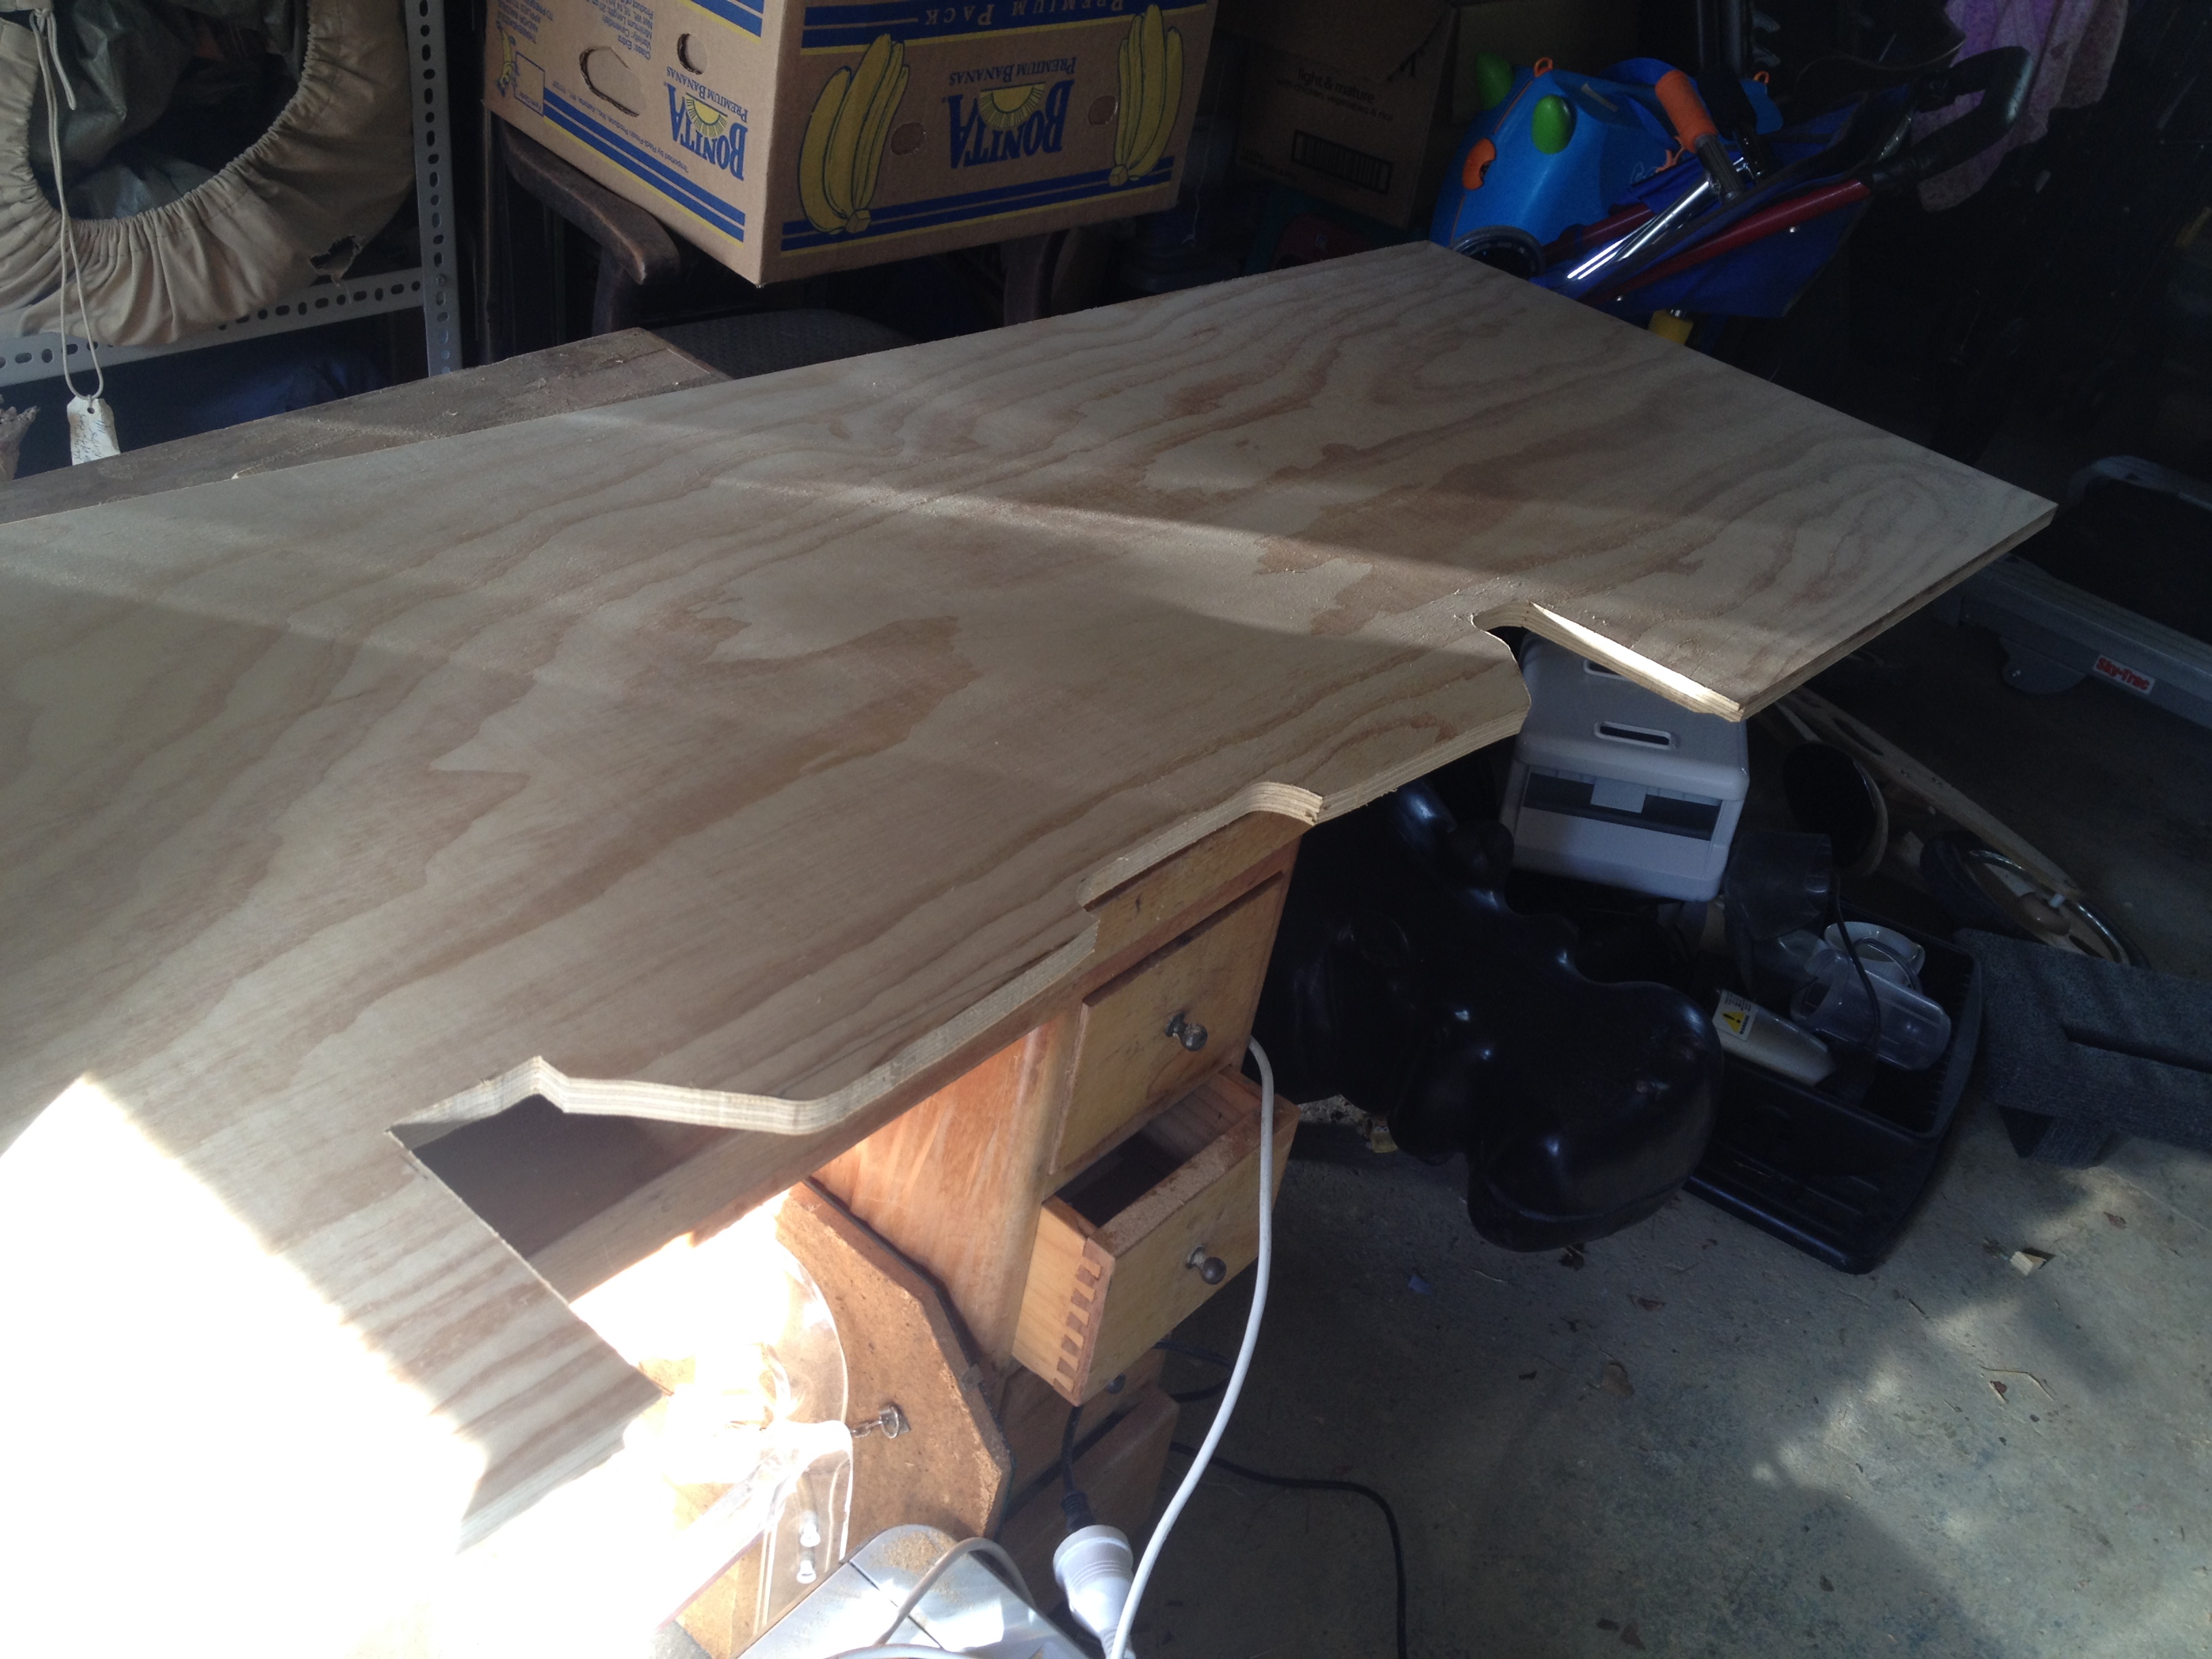
Just cut along the lines…
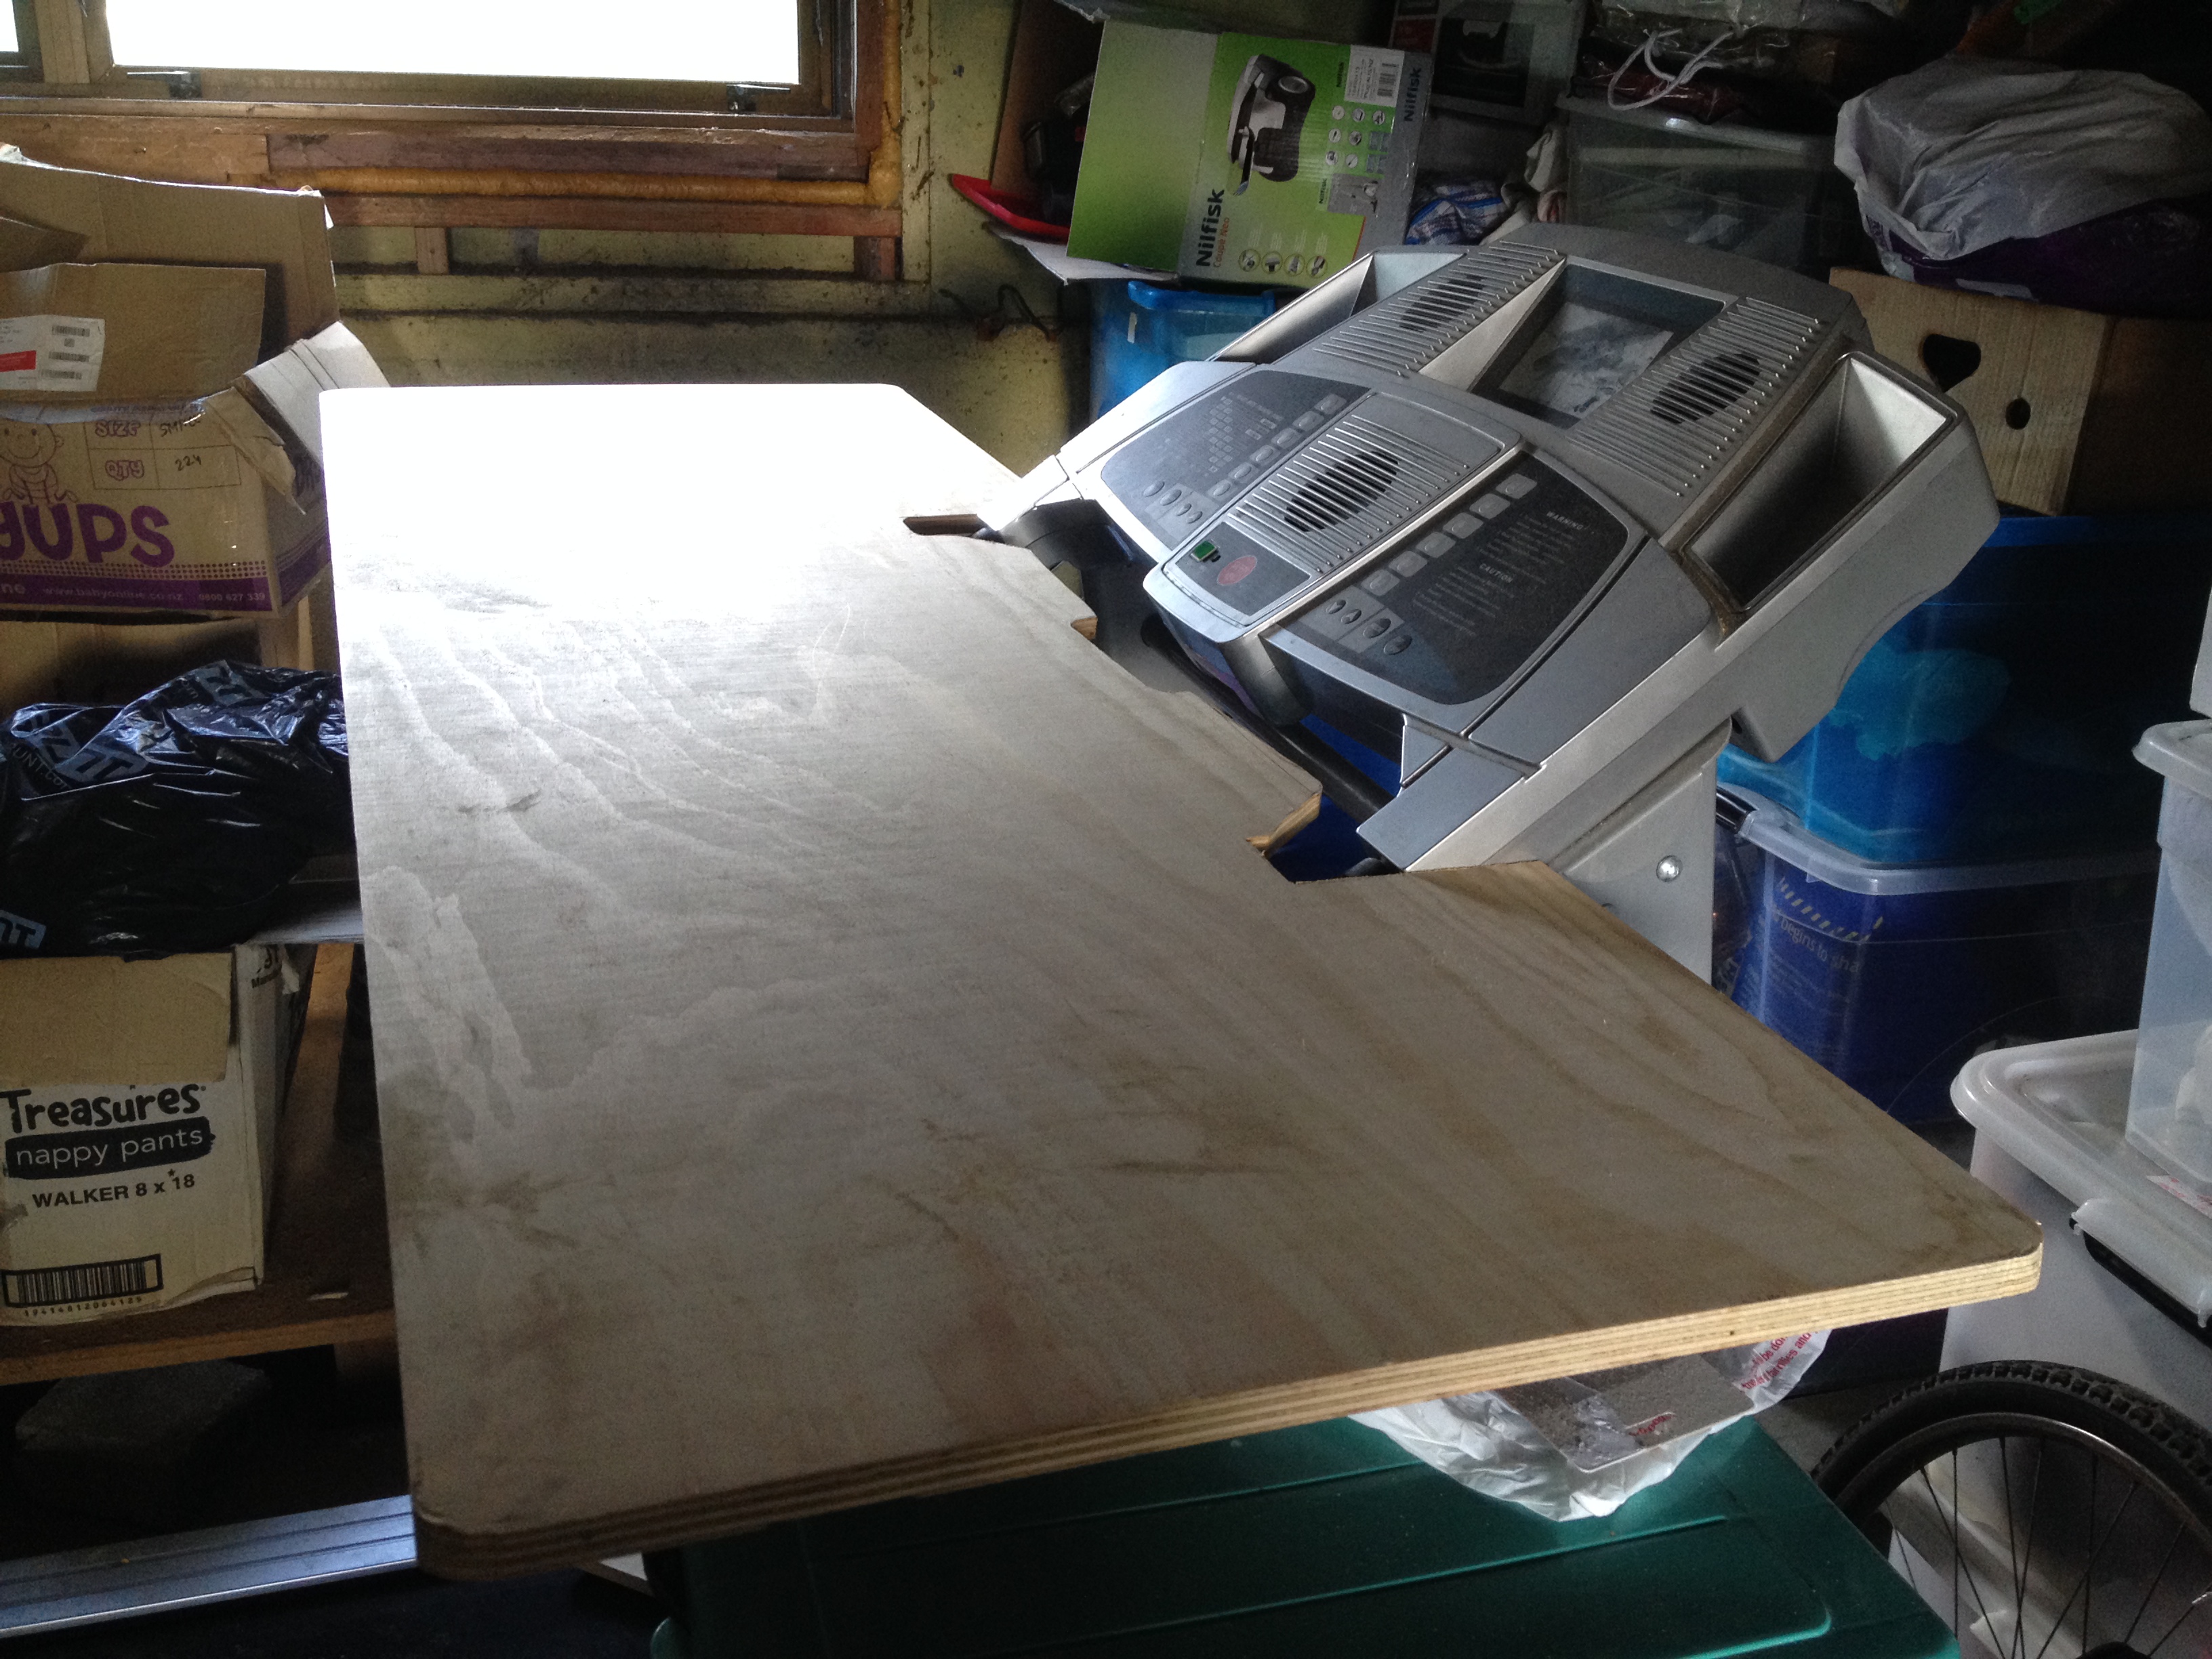
Voila… All cut to size… now the test… does it fit?
Looks good…
Oops… won’t go any further…

No worries just make a fancy sloping cut from the corner…

Sweet… a perfect fit!
But is it flat?
Hmmm… not quite. (According to the level on my iphone… I only just found out that its build into the Compass app. Just flick to the right.)

Let’s try sticking 2 pieces of ply under each side…
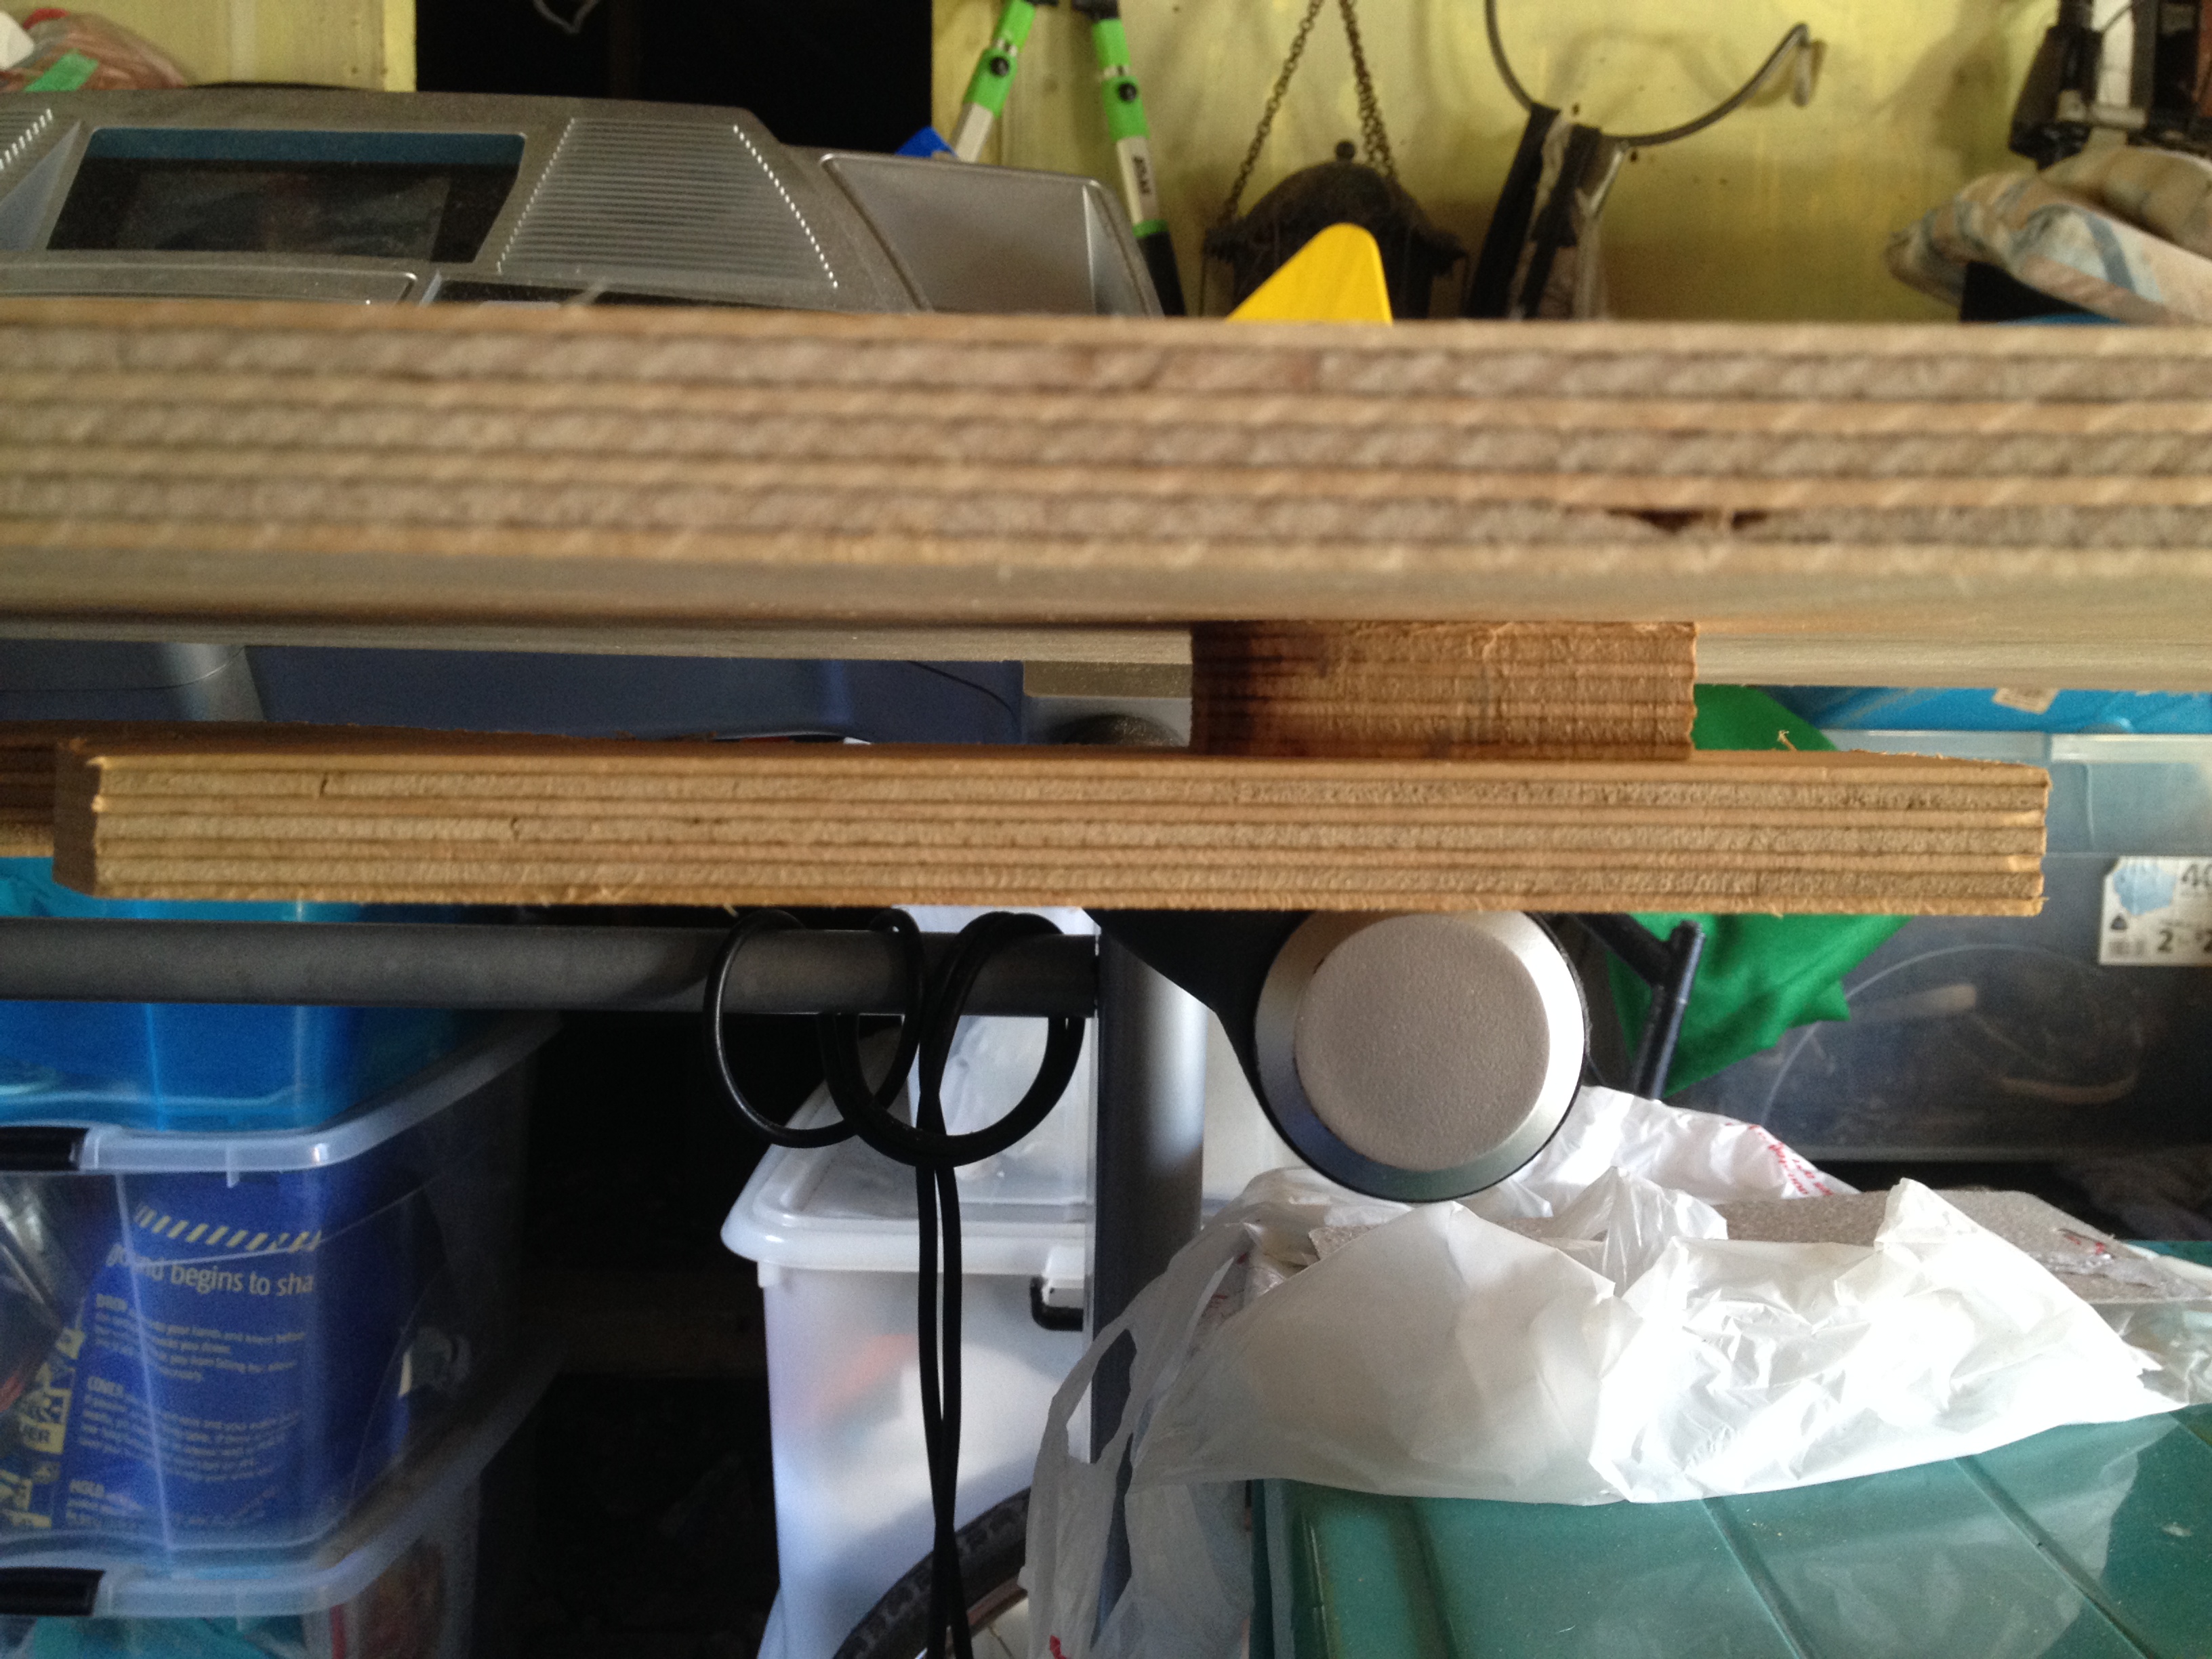

That was easy!

Now for the biggest mission… getting the treadmill out of the garage, up the steps, in the front door, along the corridor and into my office. Recruited our delightful cleaner to help us lug the beast… success. (She handed in her notice the next day… coincidence???… I hope so!)
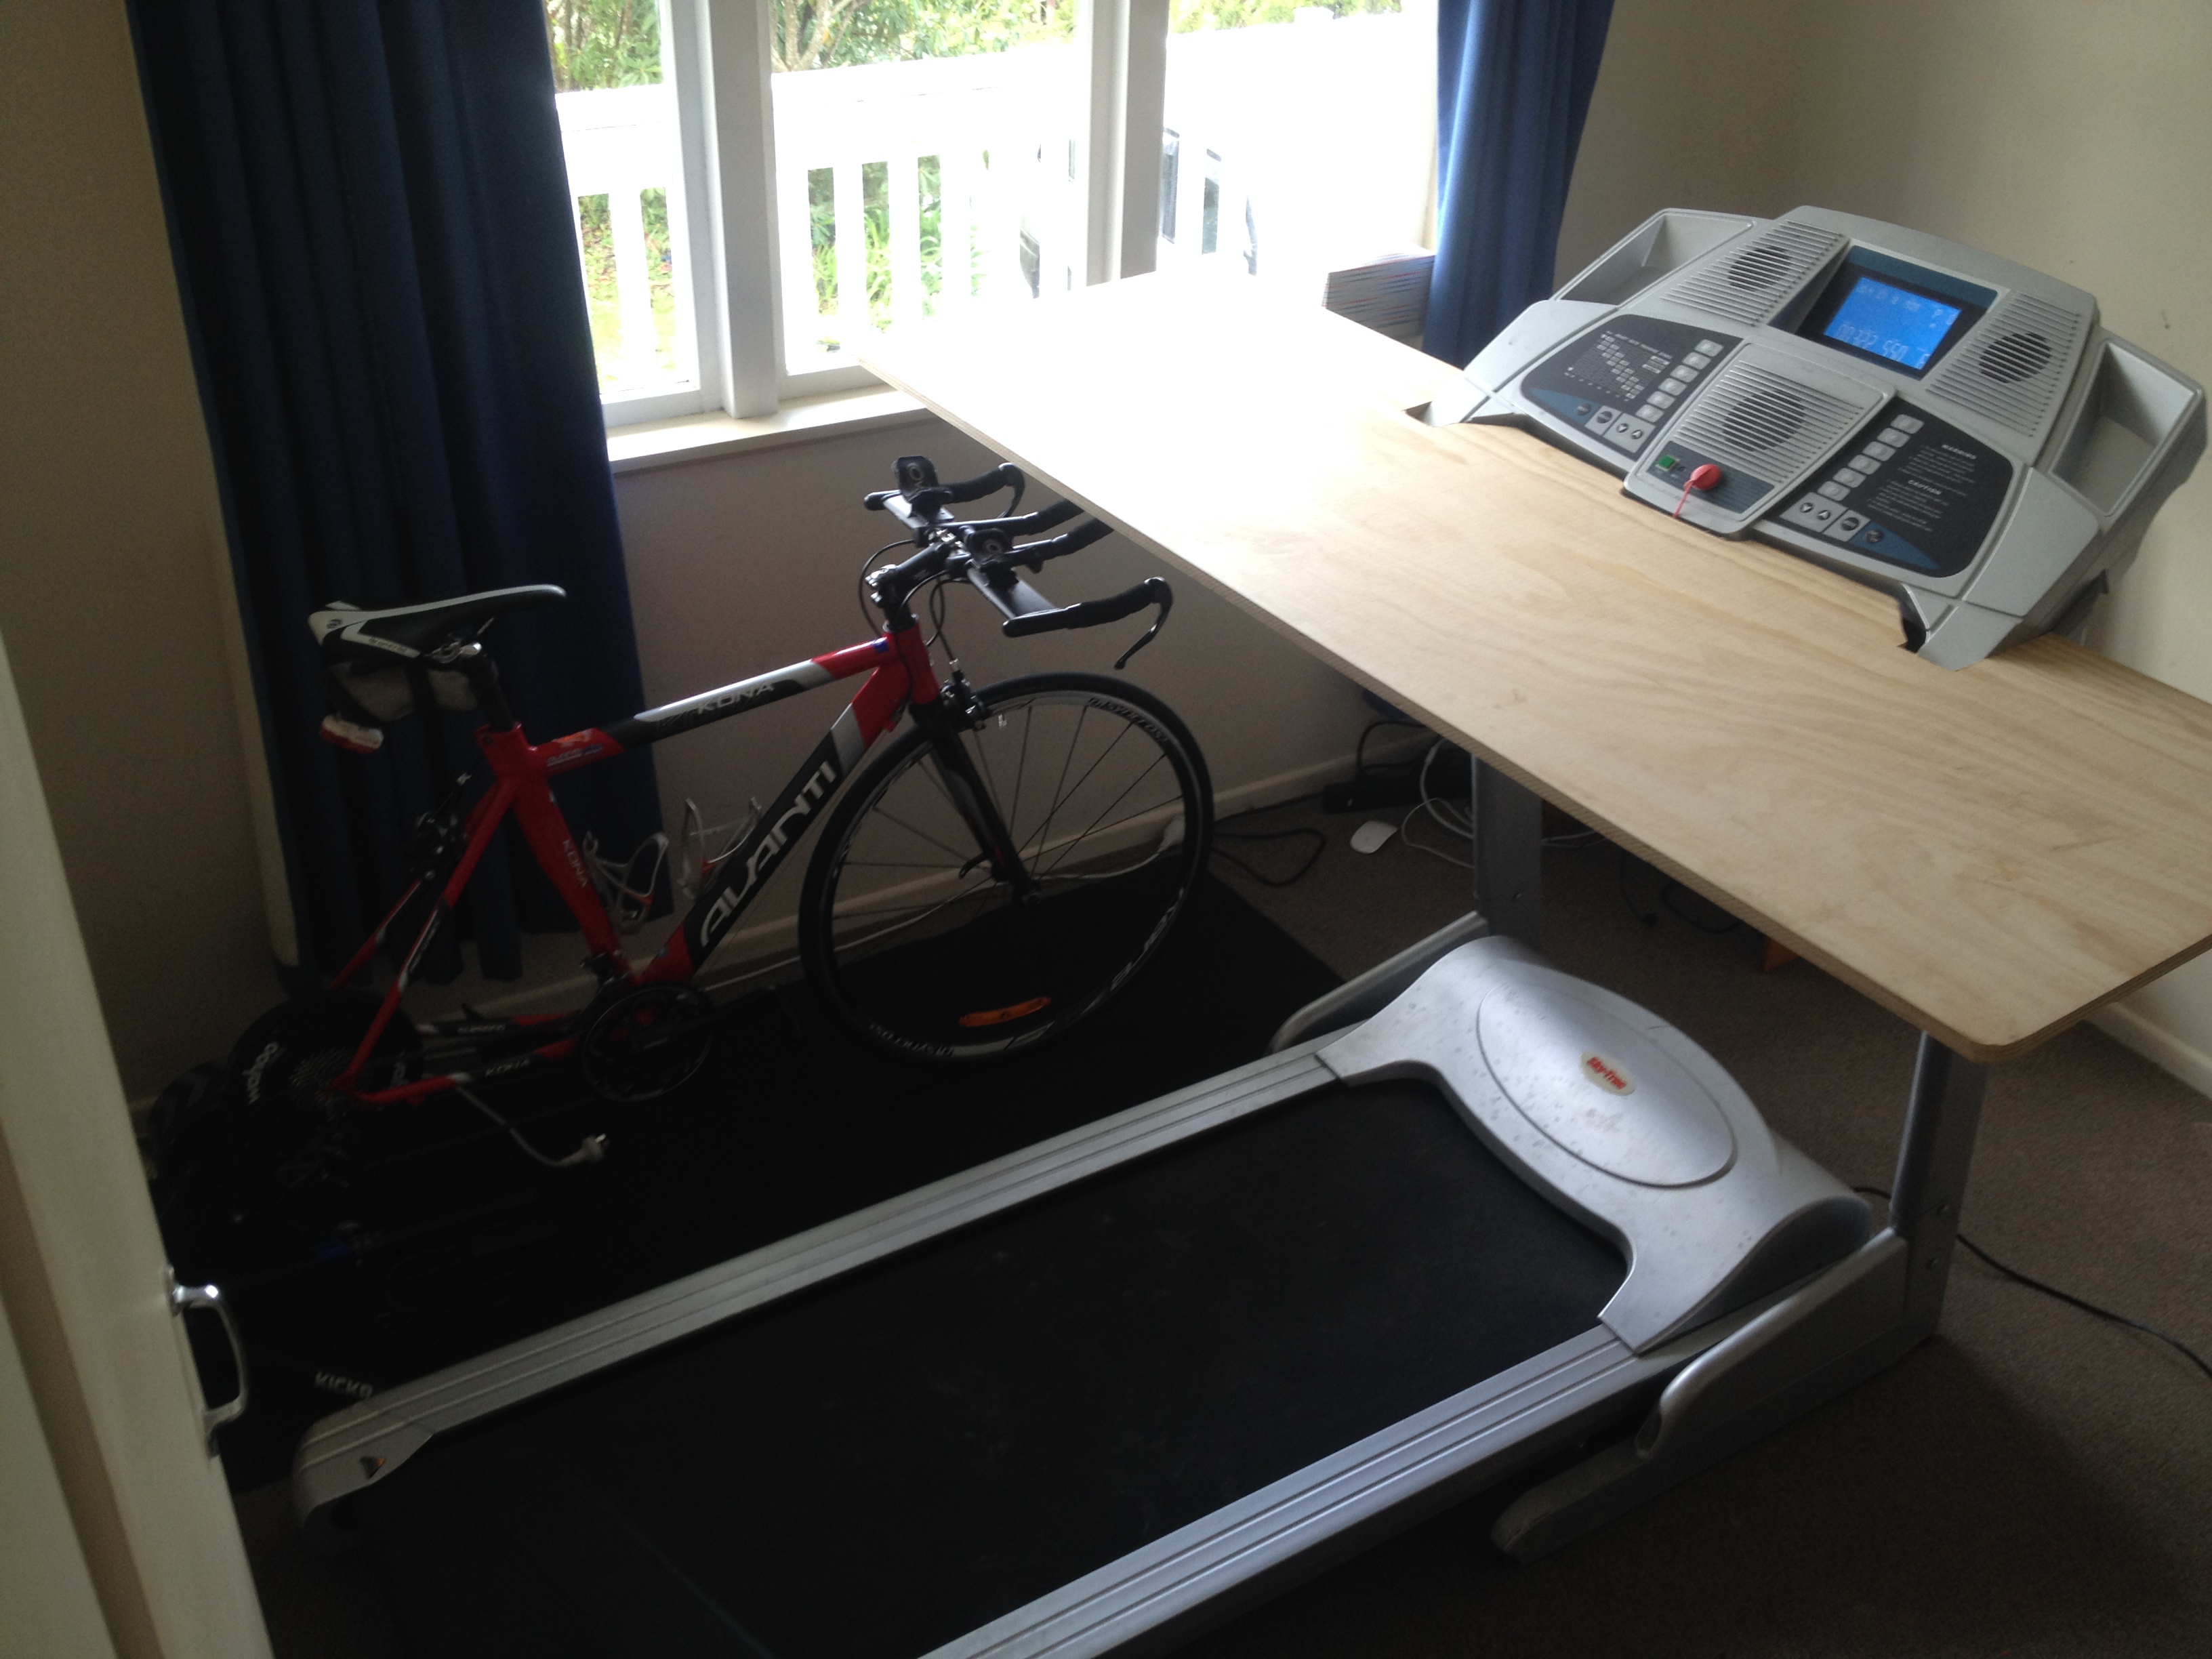
Now lets’ slip that baby back on there… looking good…
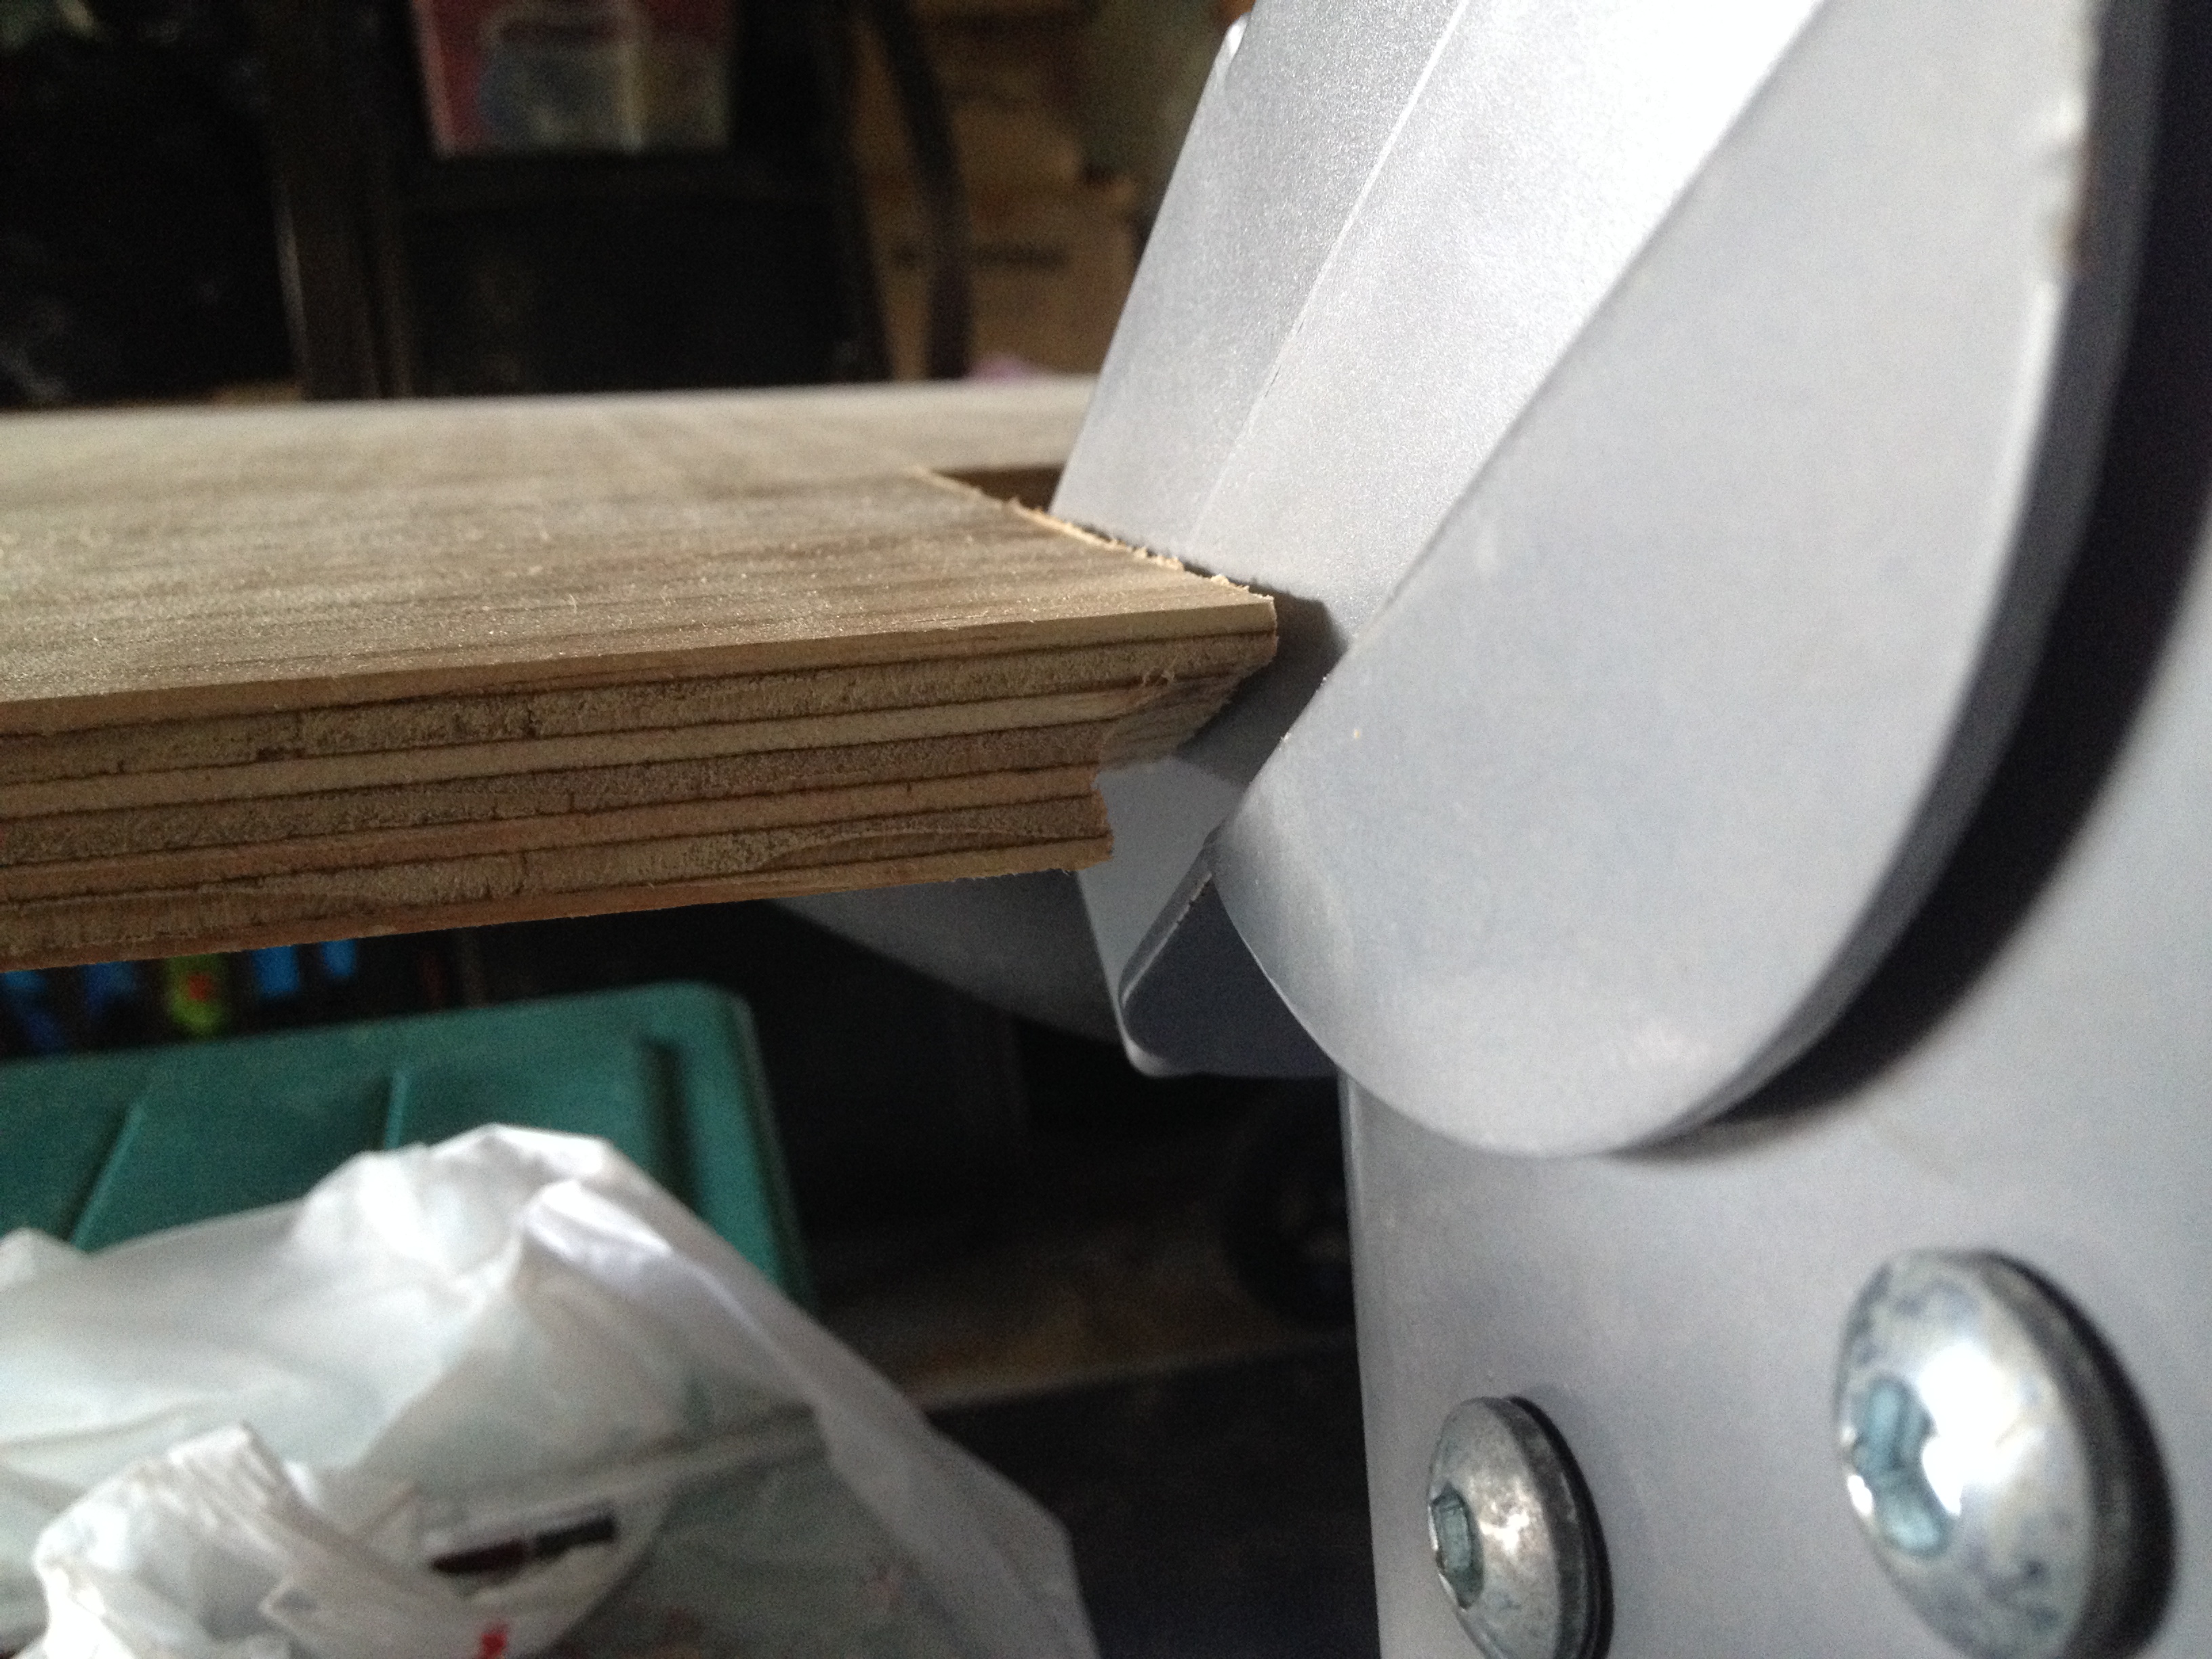
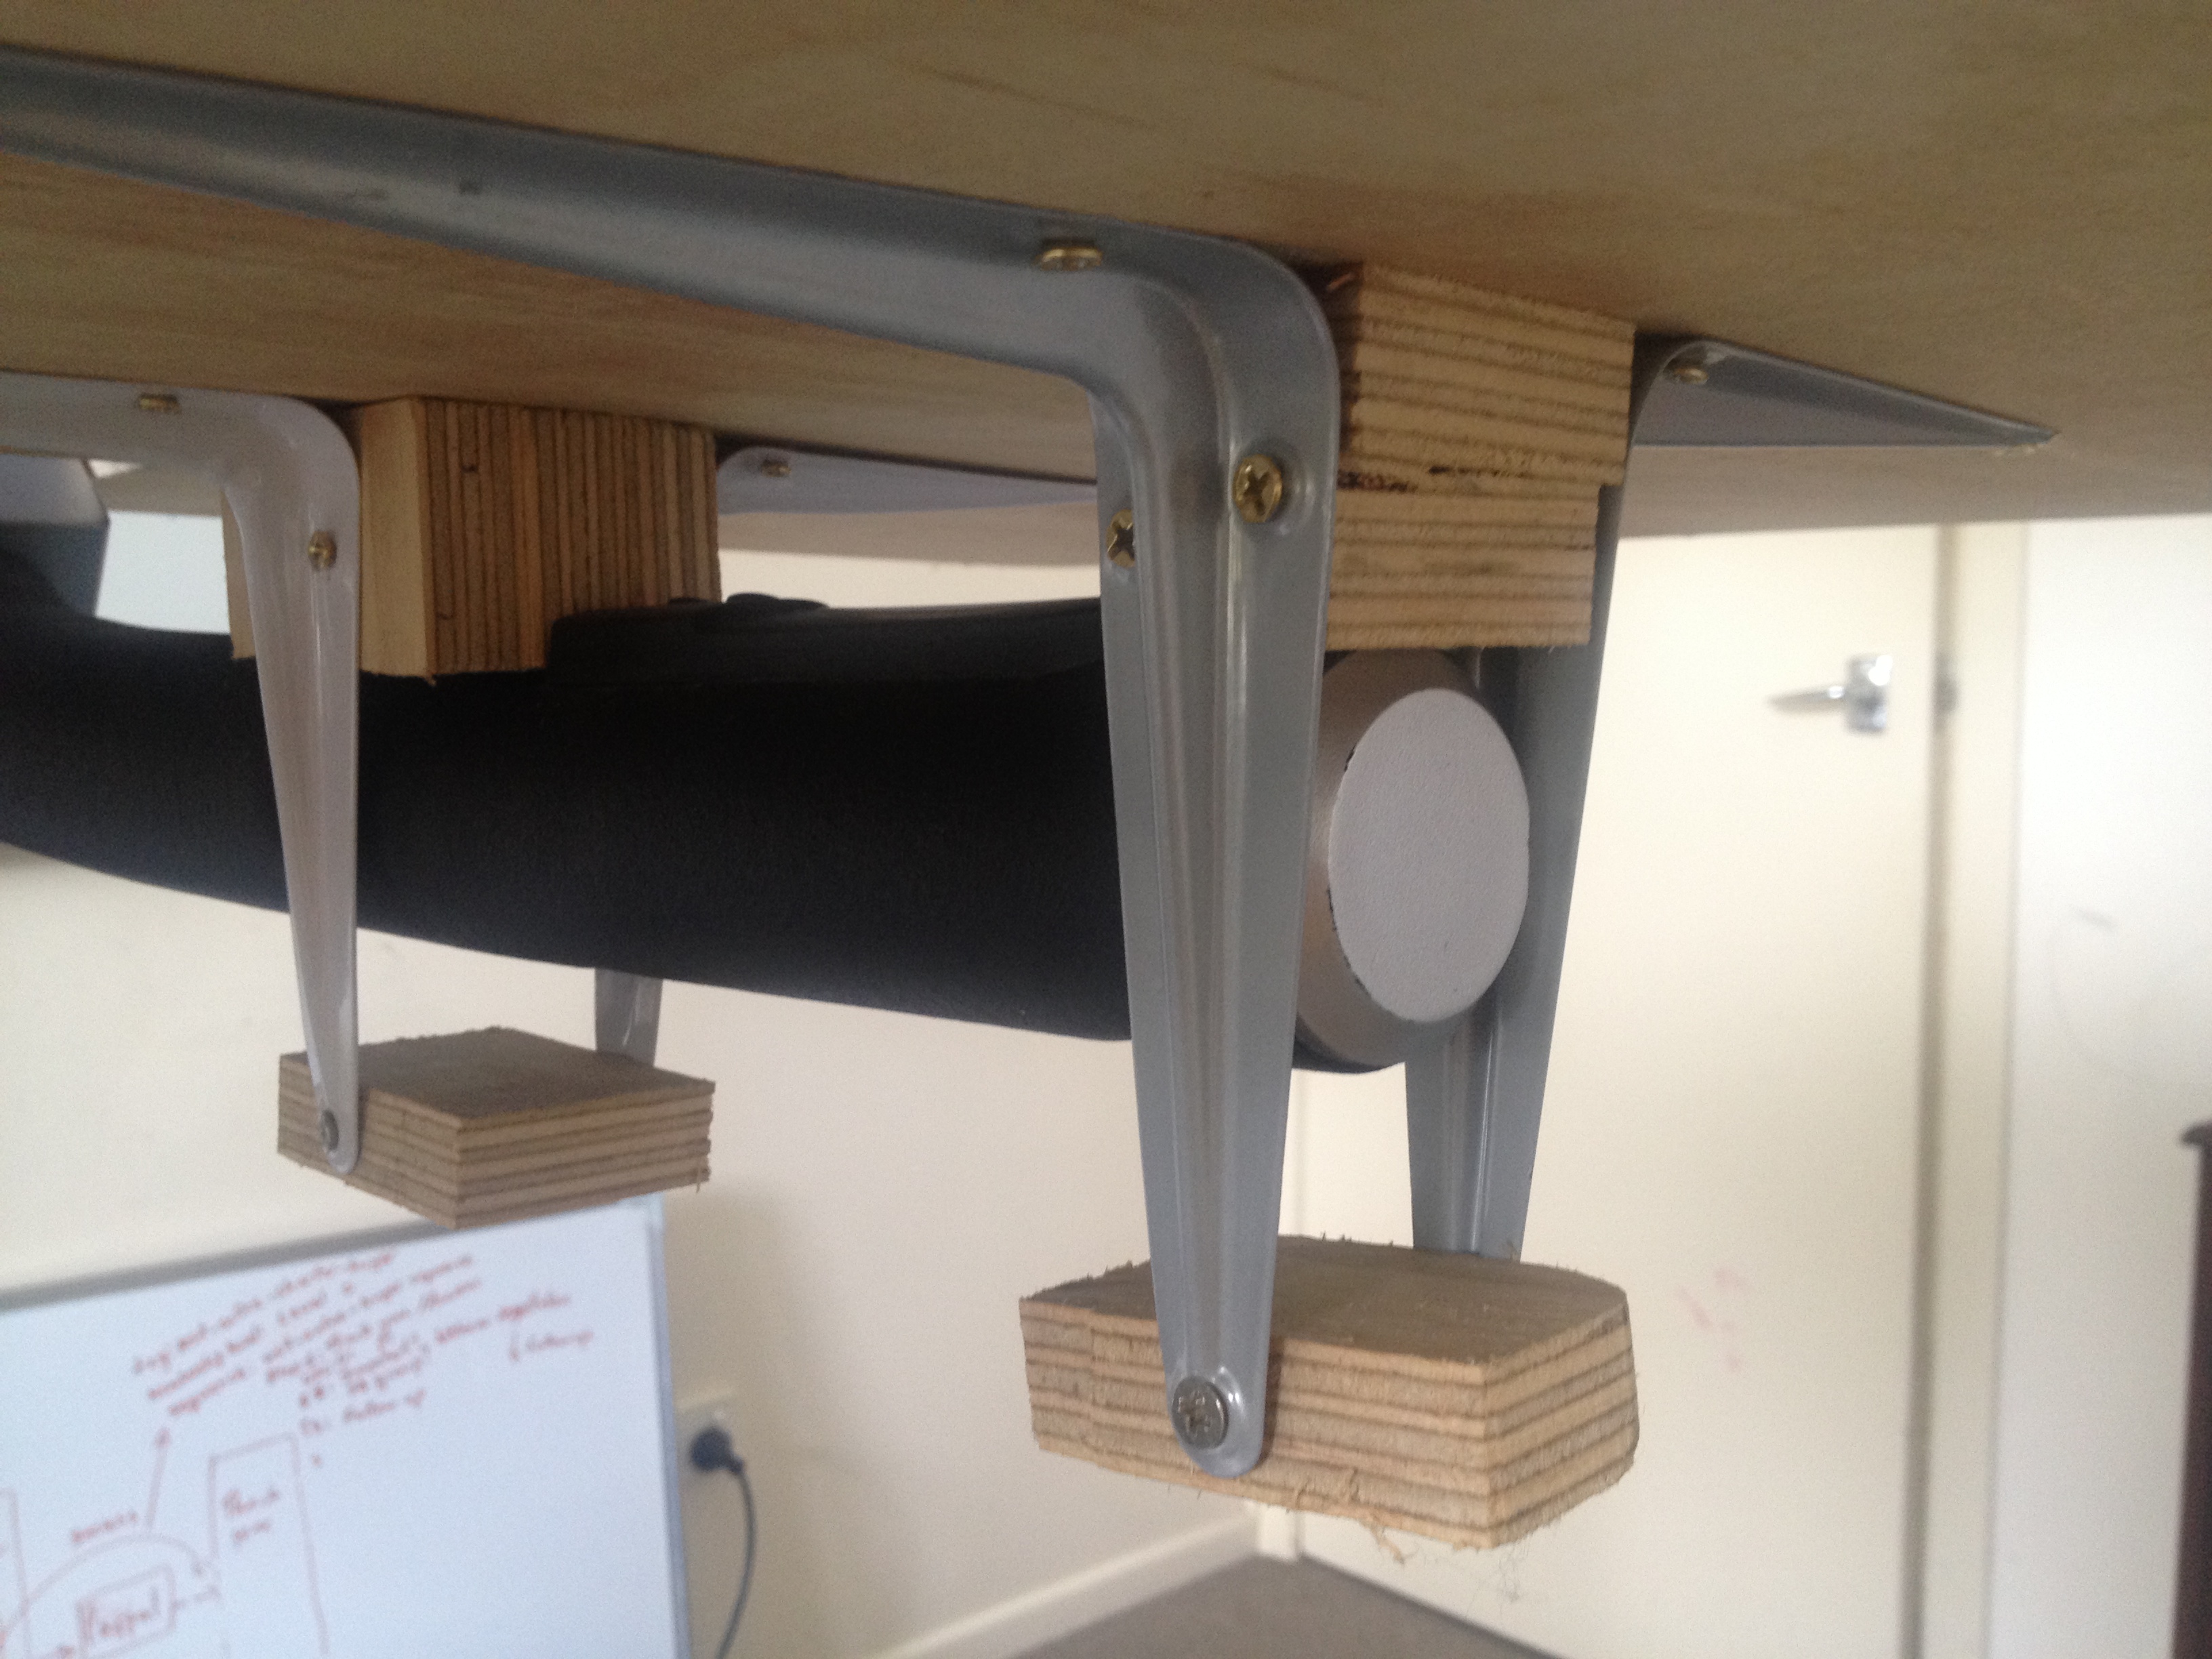
Now to stop the board from slipping off the treadmill…
This takes care of side to side slippage.
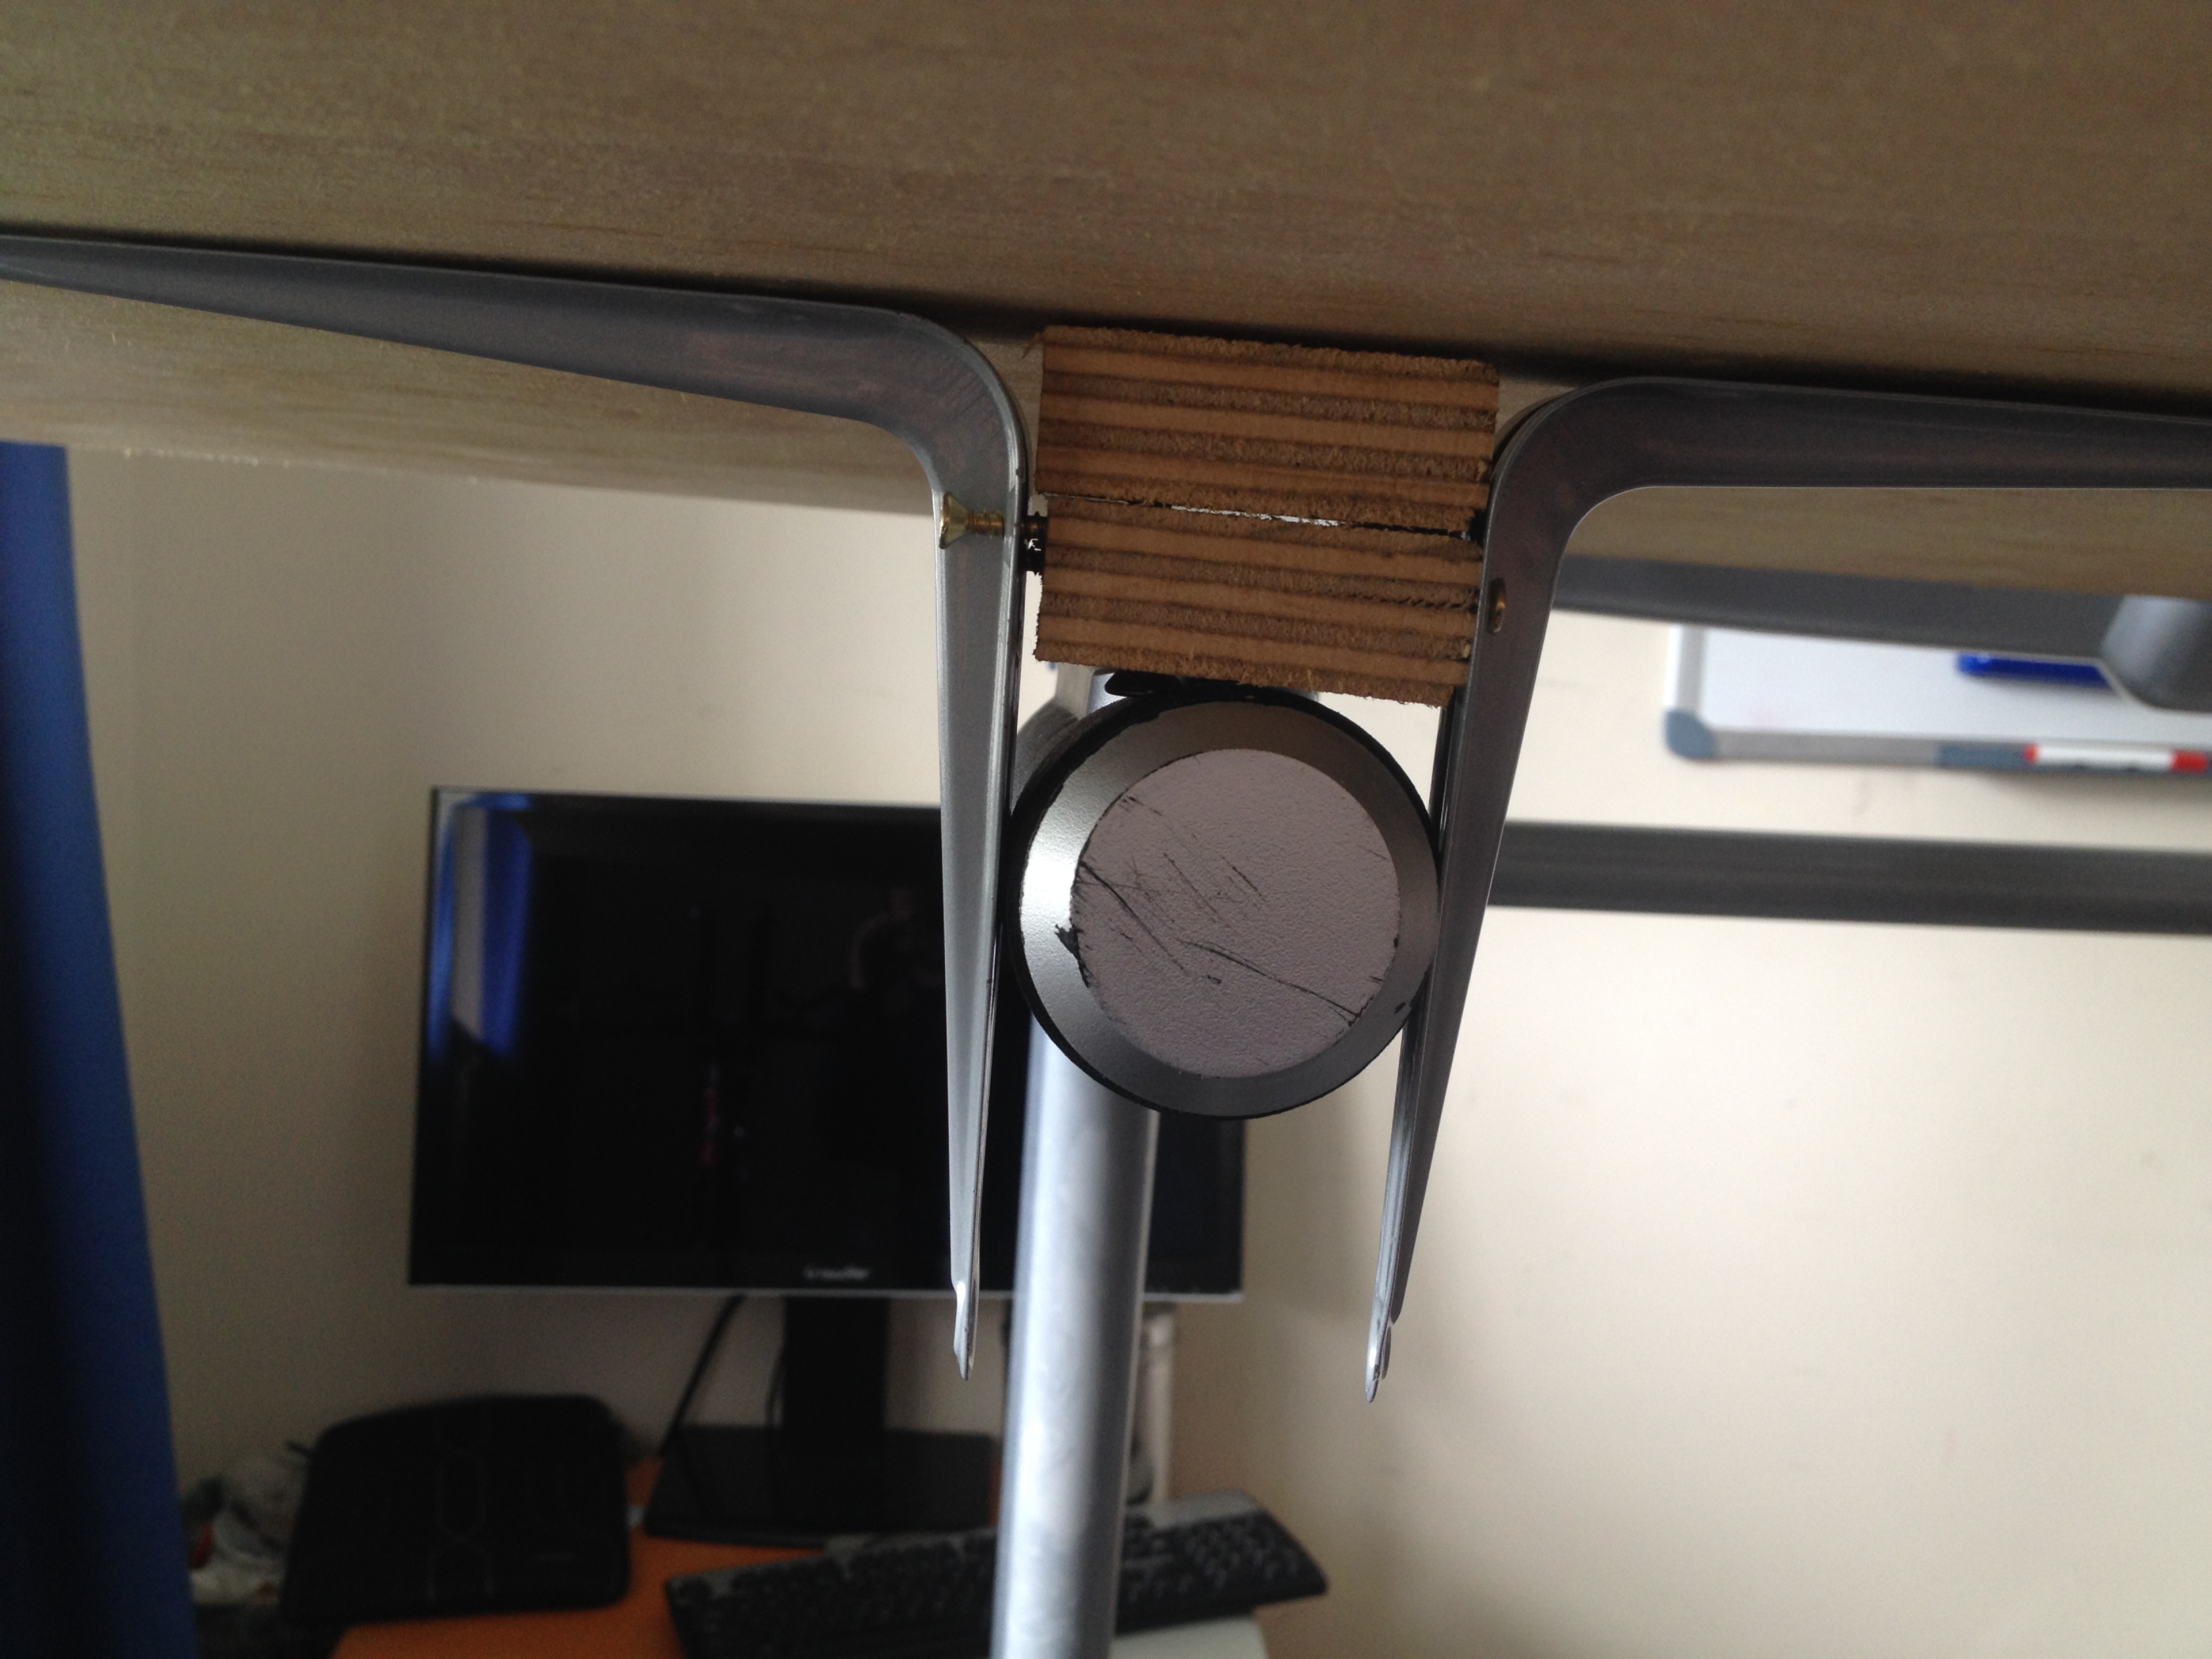
And this takes care of backwards slippage… (the dashboard of the treadmill takes care of forward slippage.)

Now let just tighten things up so they don’t bounce up and down.
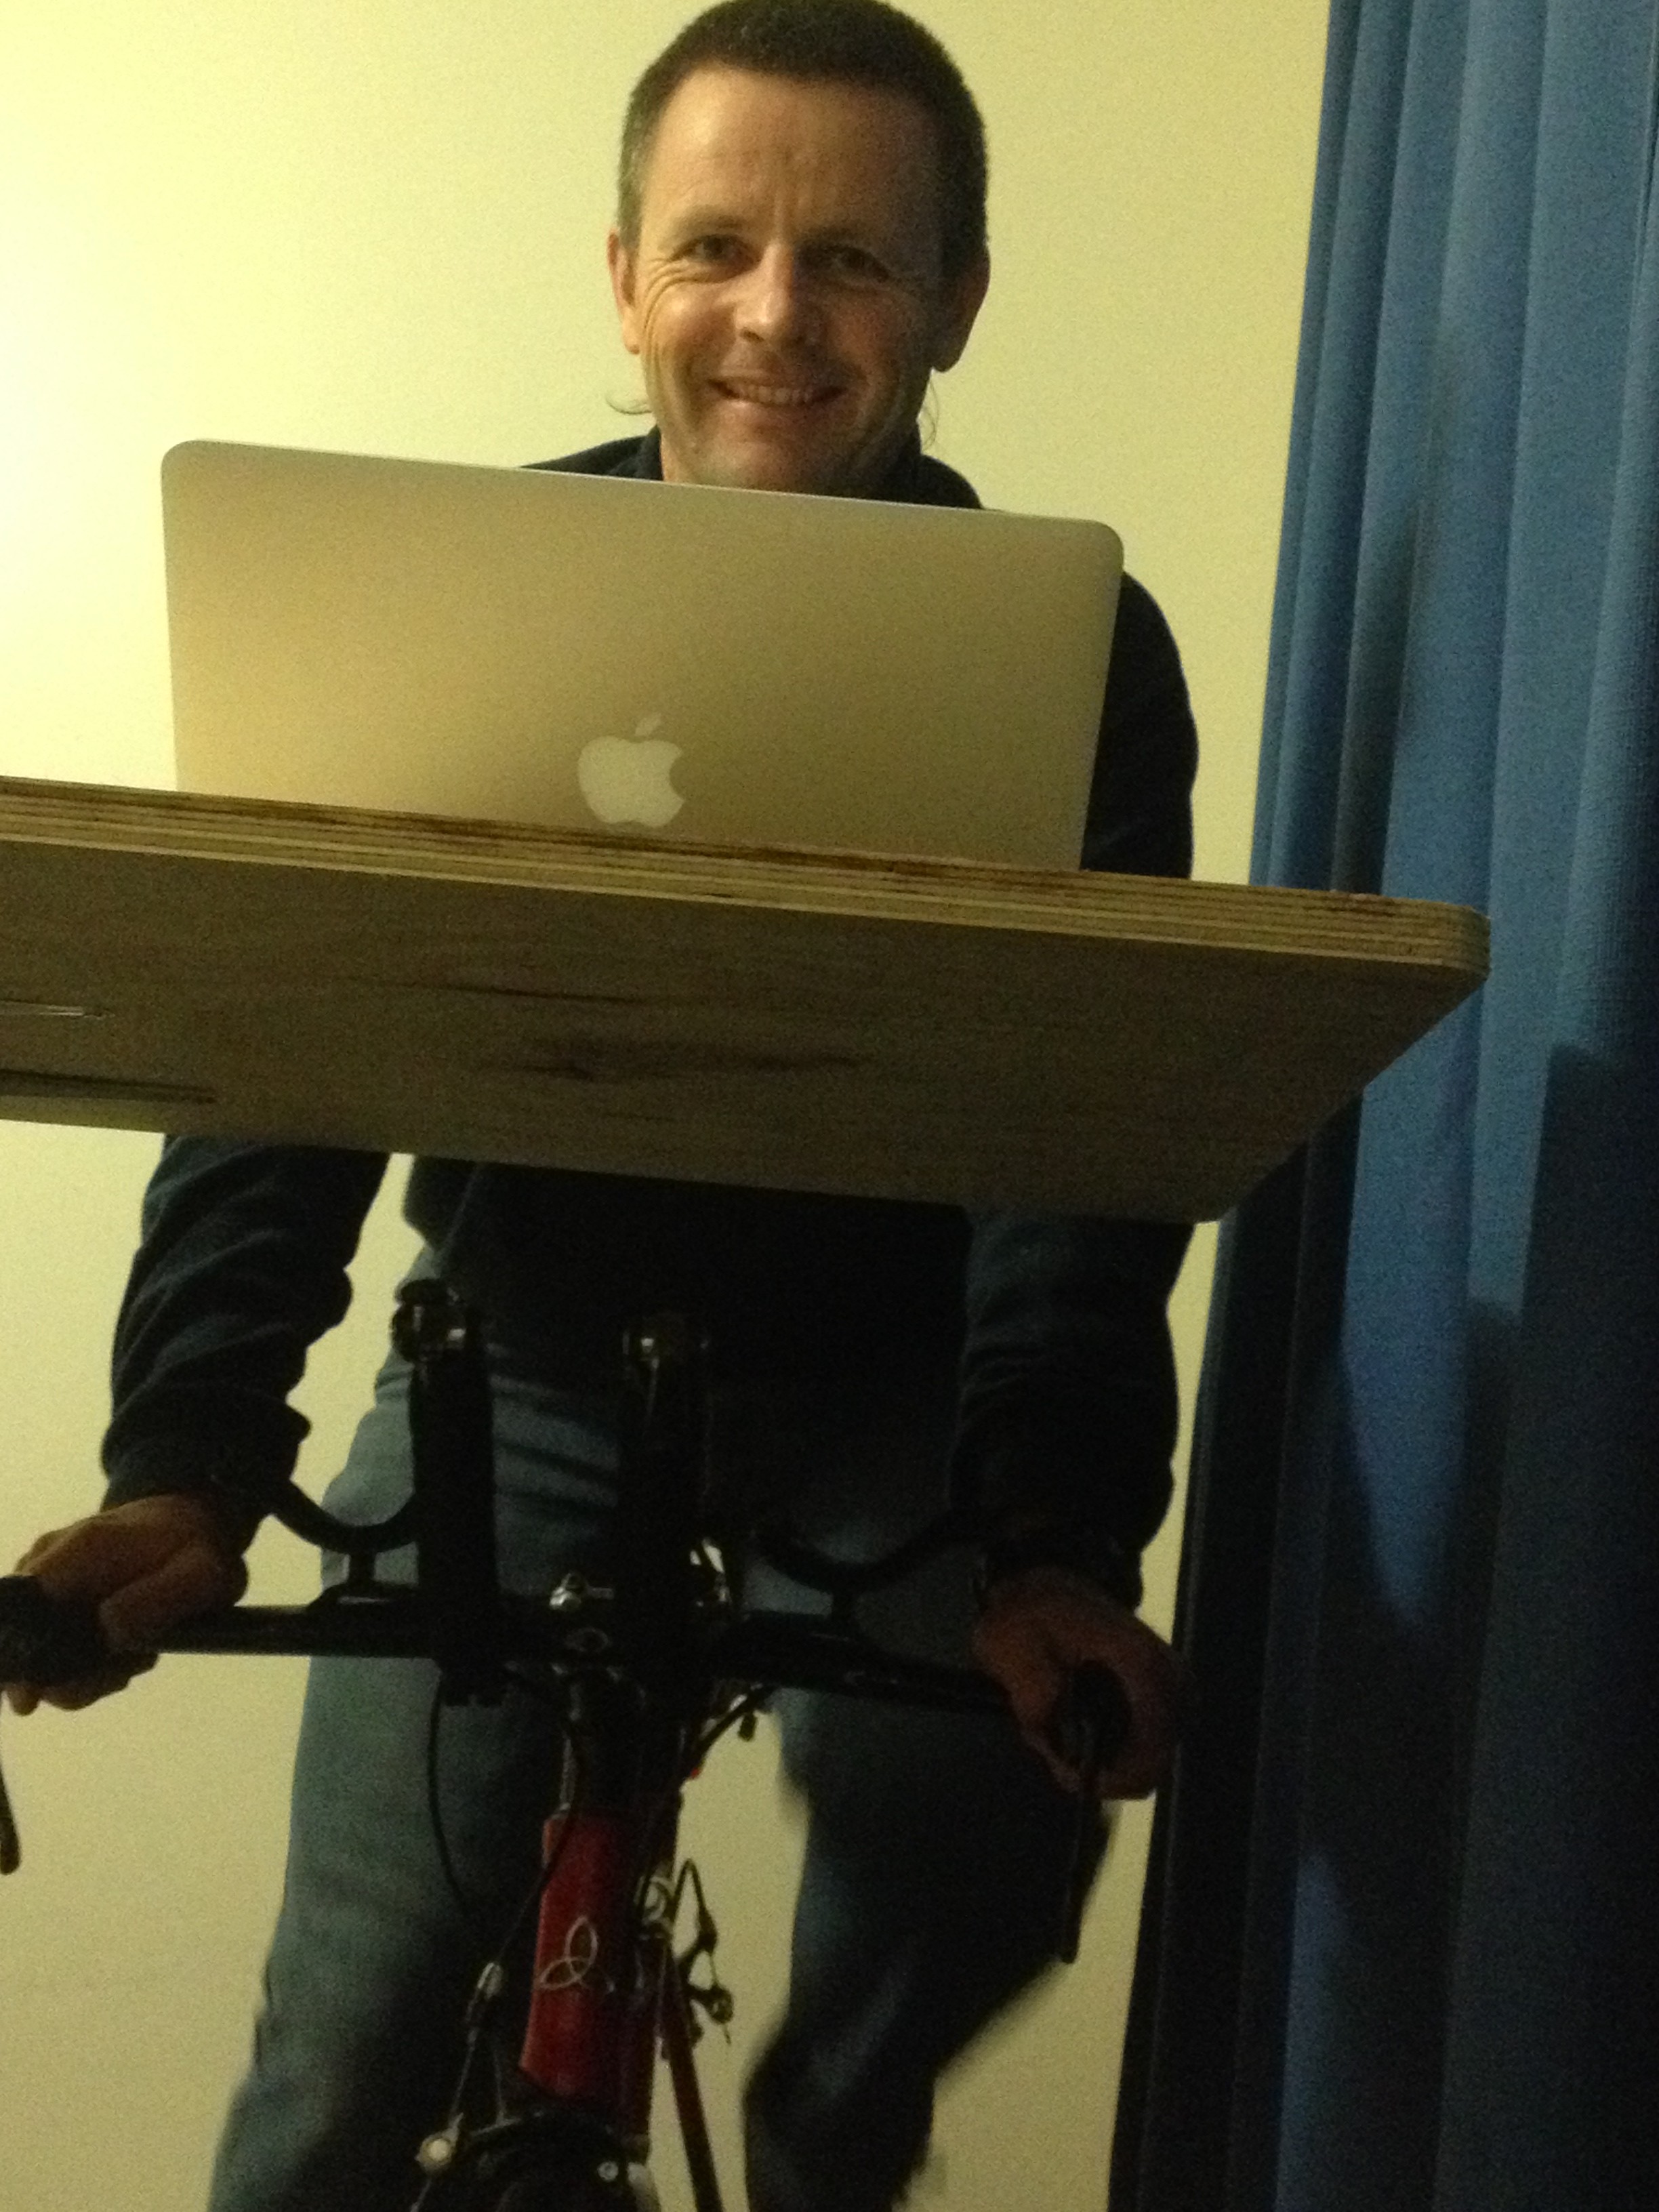
Here’s my trial on the bike trainer…
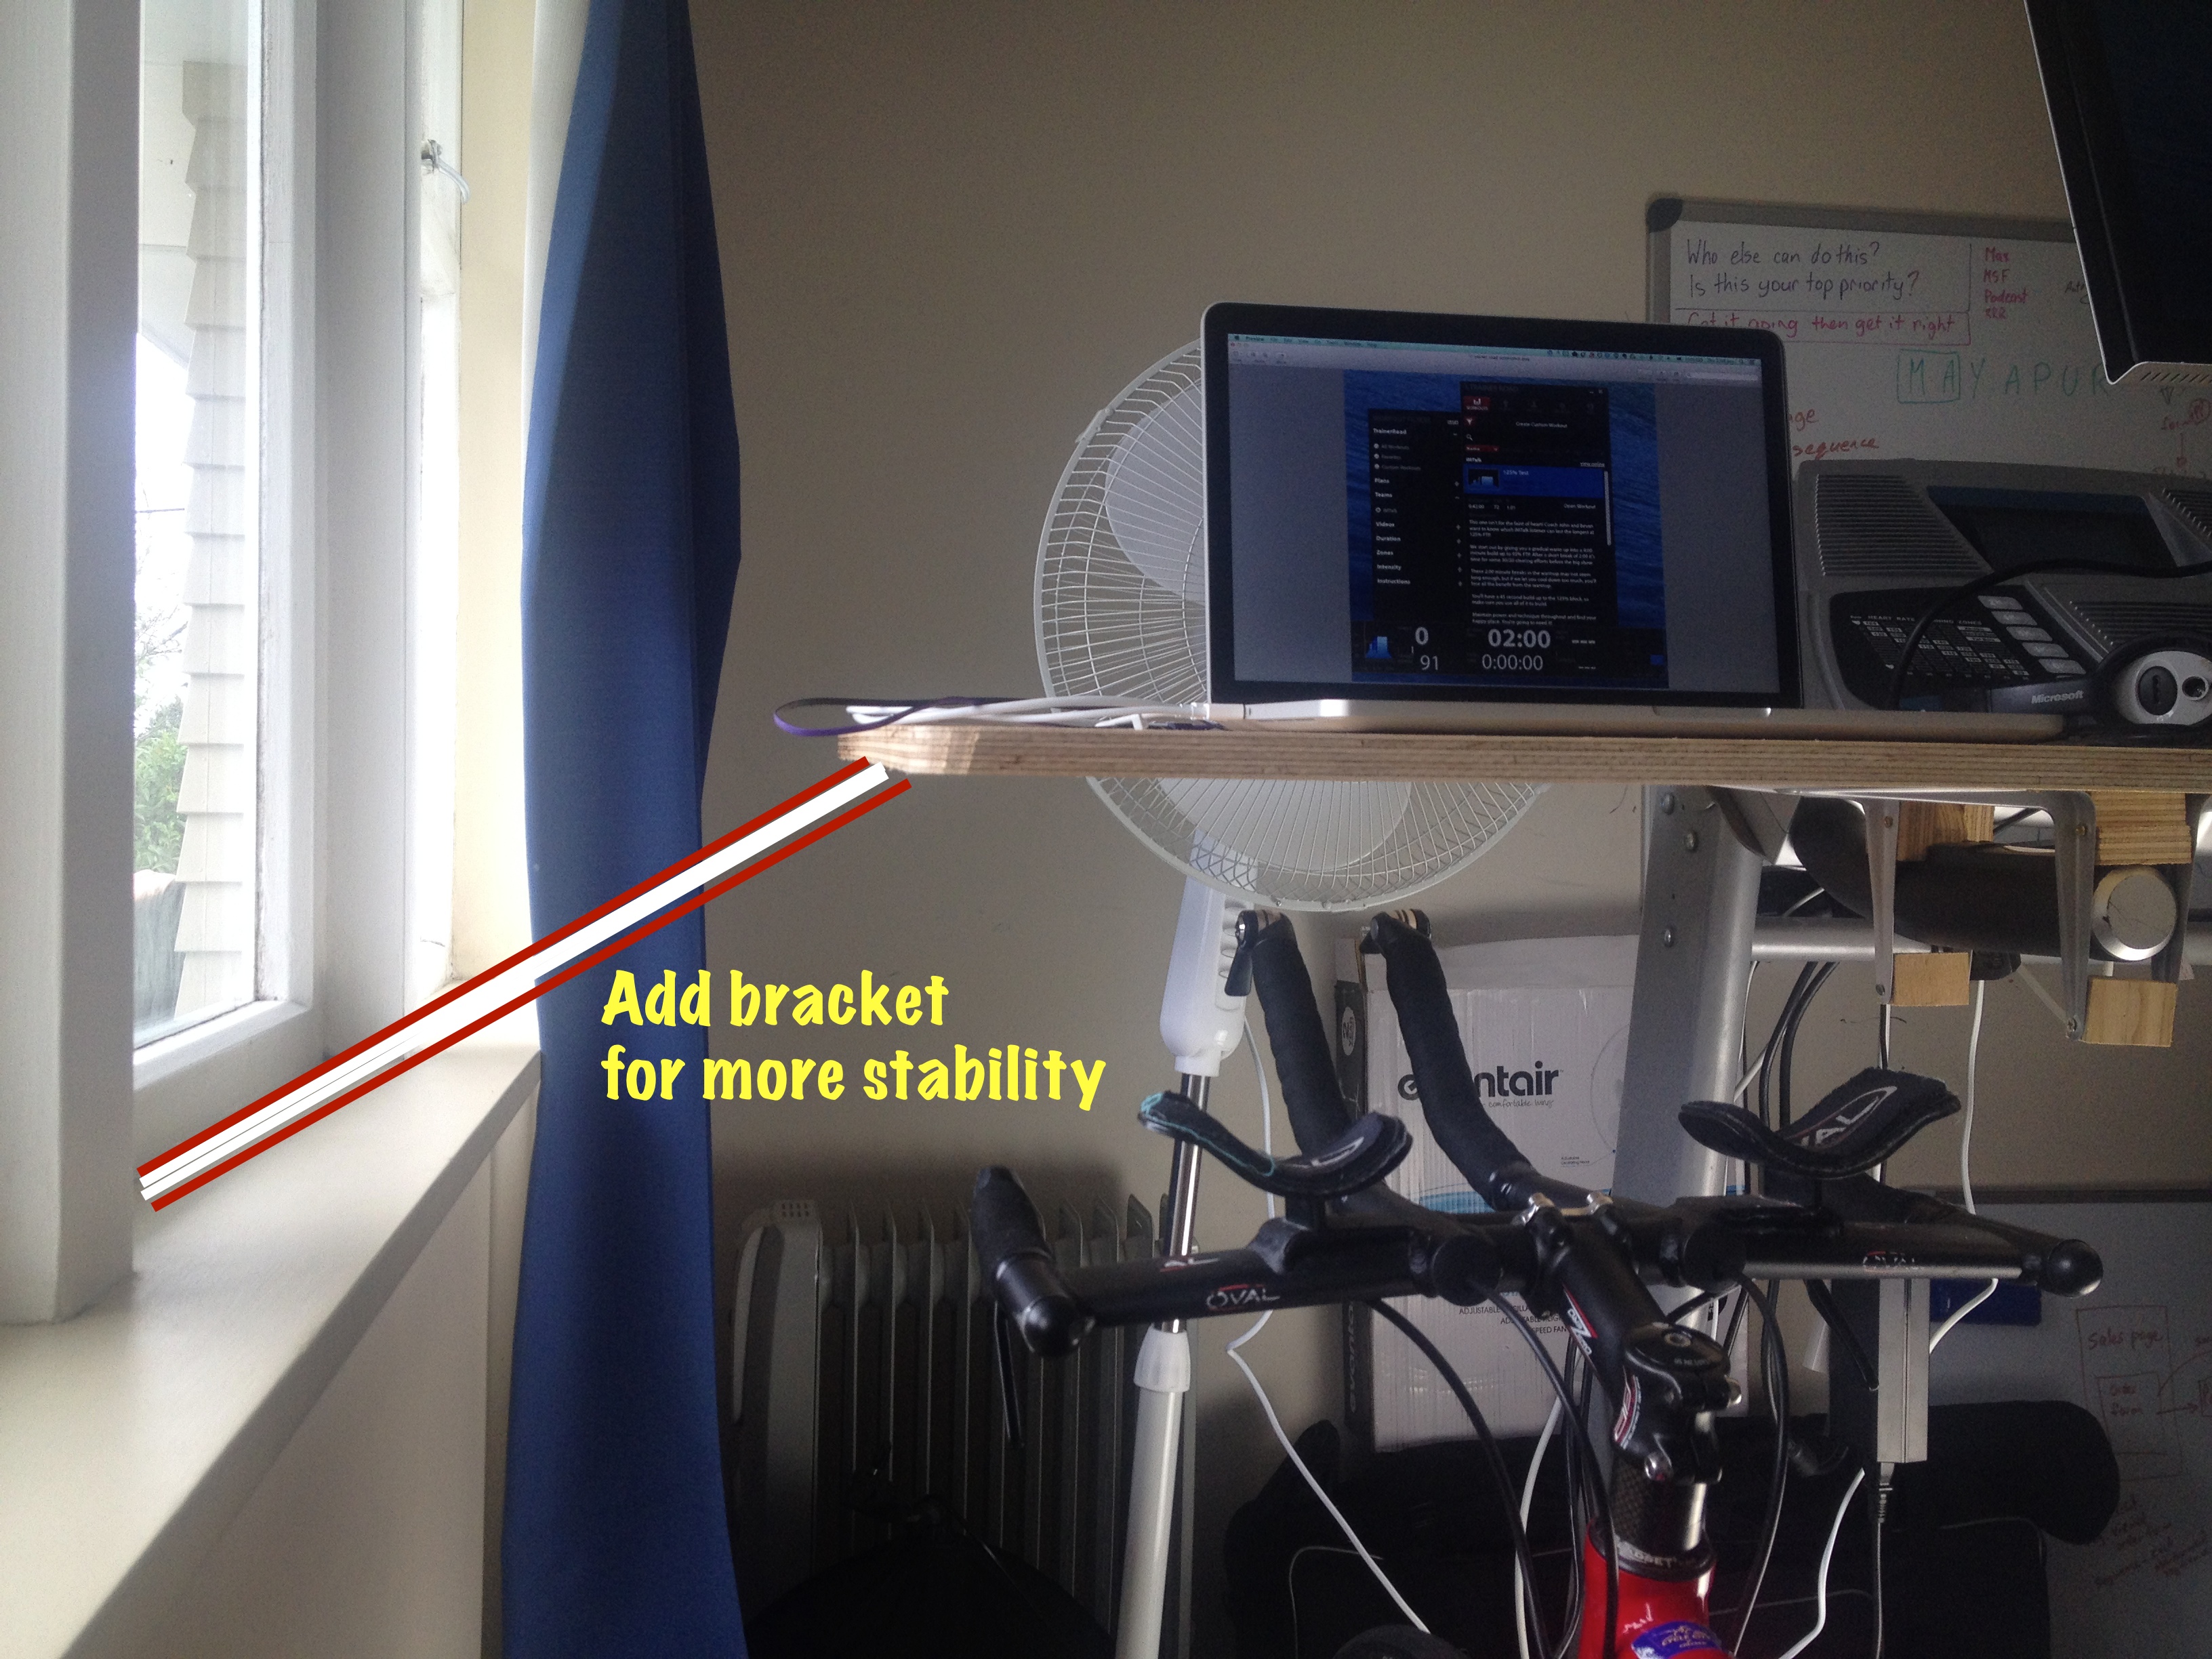
Some improvements I would like to make… Make the desk more solid so I can lean on it when cycling…
Make the desk above the handlebars removable and add another shelf below the handlebars so I can look down at the computer screen when in the aero position.

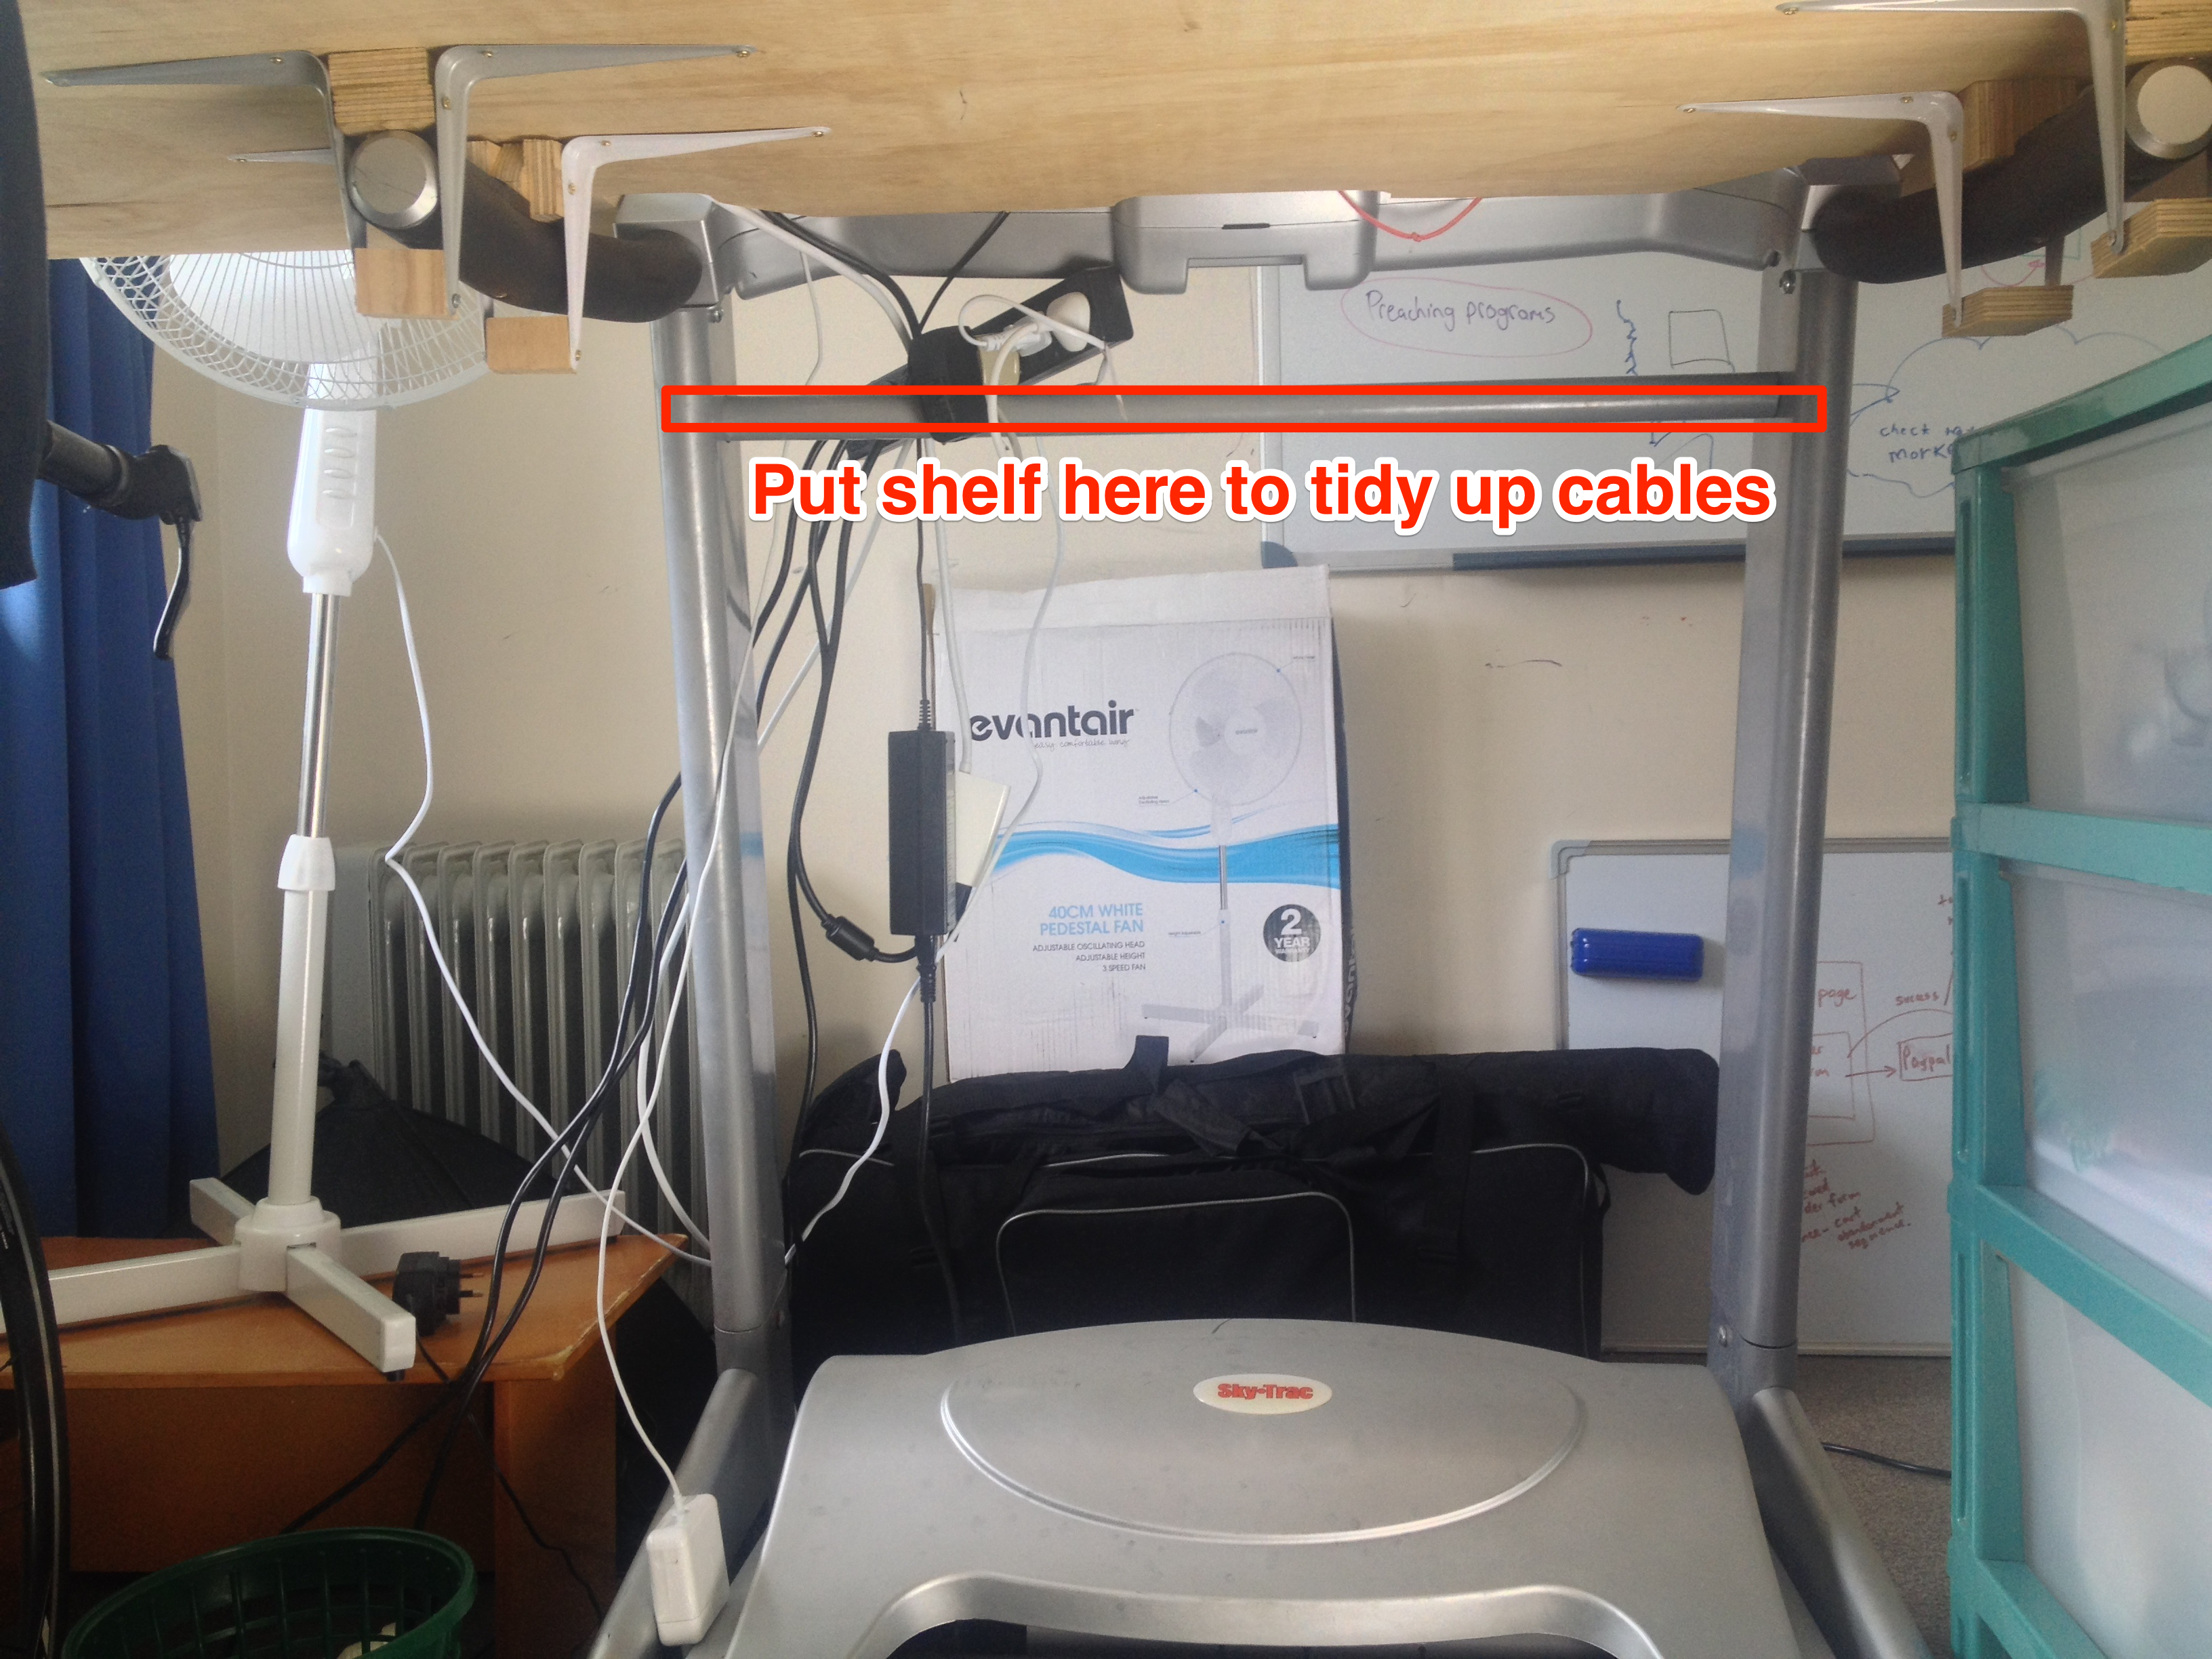
Add a shelf above the treadmill to tidy up the cables.
Another improvement I would like to make is put the 27″ monitor on a movable arm.
Presently I have to look down when I am standing…

and I have to look up when I am cycling.
With the arm I would be able to move it to exactly where I want it. It will also free up deskspace above the treadmill which would give 2 additional advantages…
- I can cut out some of the desk to give me more room for running. When I am running fast I come close to falling of the back of the treadmill – (I even kicked the plug out of the wall behind me once.)
- I will be able to easily reach the treadmill controls. At the moment I have to stop running and reach under the monitor to adjust the speed or inclination.
So we have some possible improvements to make, but overall I am very proud of my workstation. It has been a great boost to my productivity and to my fitness.